You’ll fix most Tesla charging issues by starting safe and systematic. Put the car in Park, unplug, and confirm connectors are dry. Verify your charge limit, breaker size, and that you’re not exceeding the 80% continuous load rule. Inspect the cable, adapter, and inlet for heat, damage, or debris. If faults persist, you’ll need targeted checks—power source, settings, and software—to pinpoint the cause next.
Key Takeaways
- Prioritize safety: stop charging, verify Park, don PPE, and back away if smoke, heat, arcing, or burning odors appear; call emergency services.
- Check outlet voltage and breaker sizing with a true‑RMS multimeter; apply the 80% continuous‑load rule and watch for excessive voltage sag under load.
- Inspect cable, plugs, and charge port for damage, debris, moisture, or bent pins; de‑energize before handling and reject overheated or pitted connectors.
- Resolve software/auth issues: ensure LTE/Wi‑Fi, update app/firmware, reboot vehicle and EVSE, verify payment methods, and try another stall if handshakes fail.
- Optimize performance: confirm charge settings, precondition battery in cold weather, reduce current in 5 A steps, and differentiate normal taper from circuit or pack problems.
Safety First: What to Check Before Troubleshooting
Before you touch anything, stabilize the scene and de‑energize as needed. Verify the vehicle is in Park, charging stopped, and connectors unlatched. Don protective gear: insulated gloves, eye protection, and nonconductive footwear. Survey for hazards—water, rain, puddles, snow, fuel, or conductive debris. Check for heat, burning odors, discoloration, frayed insulation, cracked housings, bent pins, or melted plastics on the charge port and cable. Maintain ventilation; lithium‑ion batteries off‑gas under fault. Keep bystanders clear and remove trip hazards. Use your phone or the touchscreen to confirm alerts, fault codes, and temperatures. If you observe smoke, arcing, hissing, or rapid heat rise, back away and initiate emergency procedures. Establish a safe perimeter, call emergency services, and do not re‑energize until risks are controlled and fully documented.
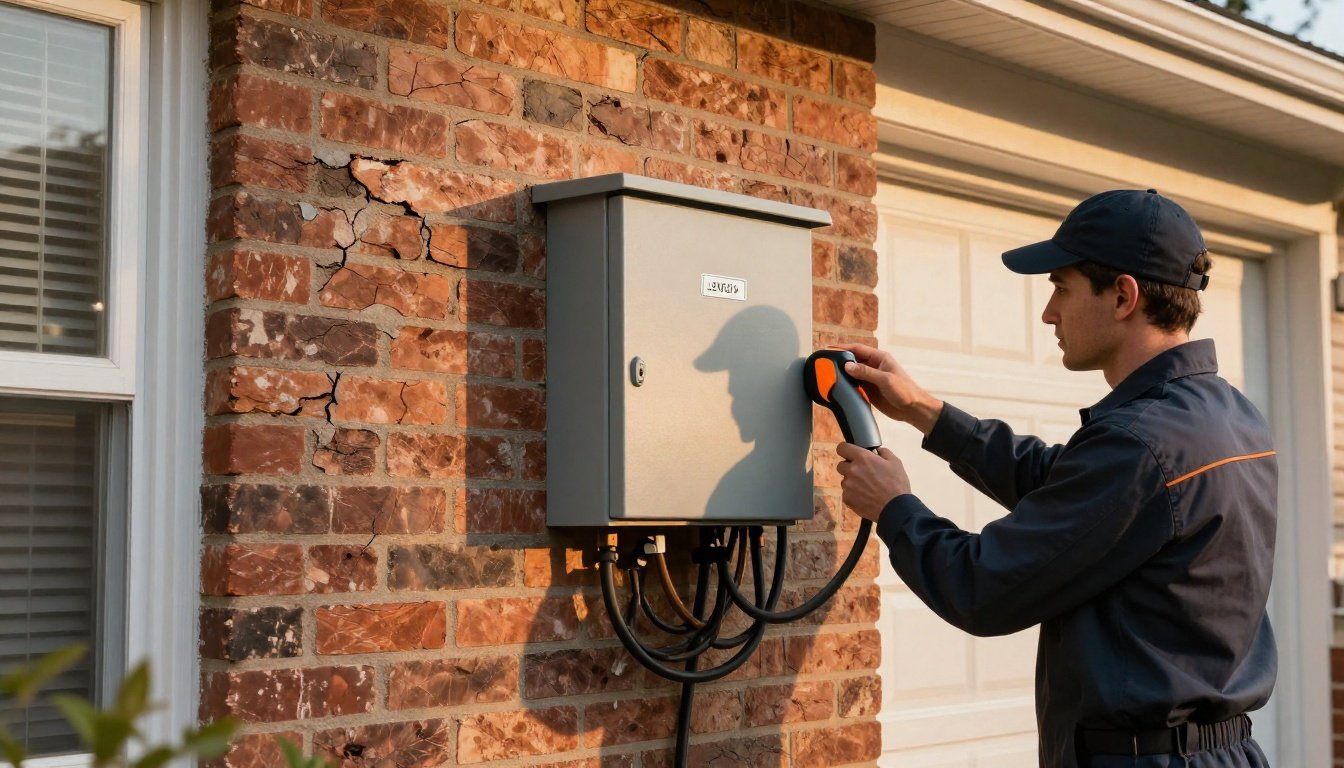
Power Source Checks: Outlets, Breakers, and Circuit Capacity

You’ll verify the supply first: use a calibrated multimeter to test outlet voltage under load and compare it to the expected NEMA rating. Next, check the panel: confirm the circuit breaker rating matches the outlet type and the charger’s current draw, and that it hasn’t tripped or derated. If voltage sags or the breaker is undersized, stop charging and correct the wiring, breaker, or circuit capacity before further tests.
Test Outlet Voltage
How do you confirm the outlet is delivering the voltage your Tesla expects? Start with Multimeter Selection: choose a true-RMS unit rated CAT II/III for the circuit. Wear eye protection, verify the meter on a known live source, then test.
Measure:
- hot-to-neutral and hot-to-ground on 120 V; expect ~120 V within ±5%. Neutral-to-ground should be near 0 V.
- on 240 V (NEMA 14‑50), each hot-to-neutral ~120 V and hot-to-hot ~240 V. Large imbalance indicates wiring faults.
- polarity, ground integrity, and voltage sag under load.
For sag, plug in the Mobile Connector and watch readings; more than 5–10% drop signals a bad outlet or undersized wiring. Use Voltage Logging over a full charge session to catch intermittent dips and heat-related drift, and loose terminal connections.
Check Breaker Rating
Although voltage may look correct, verify the branch‑circuit breaker actually supports the charging load. Check the breaker amperage against your charger’s maximum current and apply the 80% continuous-load rule: a 50A breaker supports 40A charging; a 20A breaker supports 16A. Confirm the Wall Connector or mobile connector is configured to the circuit rating. Inspect the panel label, breaker type (standard vs GFCI), and wire gauge; mismatches cause nuisance trips and heat. Look for double-lugging, corrosion, or discoloration—signs of overcurrent. If the breaker trips, reduce the charge current in the car and retest. Document findings for warranty implications. If ratings are unclear, stop charging, schedule a licensed electrician, and coordinate inspection scheduling with your utility or HOA when panel access is restricted or permit requirements.
Cable, Connector, and Adapter Inspection

When charging faults appear, start with a methodical inspection of the cable, connector, and any adapters. De-energize the circuit, unplug both ends, and work in good light. Assess insulation integrity along the entire cable: look for cuts, kinks, bulges, heat discoloration, or odor. Verify strain reliefs are secure and housings aren’t cracked. Examine the inlet and plug faces for debris or moisture; blow out dust with dry air only.
- Check pin alignment, straightness, and cleanliness; reject if plating is pitted, burned, or corroded.
- Confirm the latch, gasket, and adapter interfaces seat fully with no wobble; avoid any forced insertion.
- Feel for abnormal warmth at the plug, adapter, or cable during a brief test; if hot spots appear, stop and replace the suspect component immediately.
App and Touchscreen Error Messages Explained


You interpret app connectivity errors and touchscreen charging warnings as diagnostics. For the app, verify LTE/Wi‑Fi signal, Tesla server status, app version, and vehicle firmware when charge data or commands fail. For the touchscreen, heed faults like “Charge Port Latch Not Engaged” or “AC Power Reduced,” stop charging, inspect connectors and wiring, and only resume after the warning clears.
App Connectivity Errors
Because connectivity links the Tesla app, vehicle, and charger, faults here can halt charging or misreport status, triggering messages like “Vehicle Not Connected,” “Authentication Failed,” “Charging Paused,” or “Server Error” on the app and touchscreen. Start by verifying LTE/Wi‑Fi on your phone and car, then toggle Bluetooth, relaunch the app, and perform cache clearing. Confirm you’re signed in and that vehicle sharing permissions haven’t changed. Check Tesla’s status page for server outages before changing settings. If errors persist, reboot the vehicle (scroll‑wheel reset) when parked, then power‑cycle the charger.
- Reproduce the error, note time, VIN, charger ID, and firmware for support.
- Validate time/date sync on phone and vehicle; mismatches break authentication.
- Test a mobile hotspot; if successful, fix router DNS, firewall, or ISP blocks.
Touchscreen Charging Warnings
After ruling out connectivity faults, focus on the warnings the touchscreen and app display during charging. Common alerts include “Charging reduced,” “Charging stopped,” “Unable to charge,” “Check charge port,” and “High voltage system needs service.” Note whether they’re shown at plug-in, during ramp-up, or at specific amperage; timing narrows root causes. Verify cable seating, latch engagement, and port LED color. Inspect the connector for heat discoloration; hardware aging or loosened pins can trigger thermal throttling.
Correlate warnings with temperature, circuit load, and outlet rating. Reduce current in 5 A steps and retest. Try a different EVSE and receptacle to isolate utility, wall connector, or vehicle. If warnings persist or include isolation or contactor faults, stop charging, avoid damaged equipment, and schedule a service appointment.
Slow Charging: Settings, Limits, and Load Management

When charging slows unexpectedly, first verify in the car and app that charge limit, Scheduled Charging/Departure, and charge current settings aren’t capping the rate. Confirm Wall Connector breaker matches set amps; safely cap at 80% for continuous load. Check if charging schedules, utility demand response, or home energy management are limiting amperage. Inspect the charging graph; differentiate normal taper from battery degradation. If sharing a dual-Wall Connector circuit, load balancing divides current. After adjustments, power-cycle the EVSE and re-seat the connector until latched.
- Verify voltage sag under load; note amps drop if voltage low; contact electrician if >10% drop.
- Review charge session logs in the app; compare amperage to circuit rating.
- Examine connector pins for discoloration or debris; stop if hot; replace damaged hardware.
Cold Weather Charging and Battery Preconditioning

Although Teslas manage cold automatically, low cell temperatures raise internal resistance, limit regen, and clamp charge power, so you must precondition to protect the pack and shorten session time. Initiate thermal preconditioning before plugging in: schedule departure in the app, preheat the cabin, and keep the car plugged so shore power warms the battery. Watch for the snowflake or regen dots; they indicate a cold pack. If charging remains slow, verify recent short trips or deep cold; extend preheat until indicators clear. Use seat heaters instead of cabin heat to conserve energy. Improve battery insulation by parking indoors, reducing wind exposure, and removing snow from the underbody. For safety, avoid launching immediately after a cold soak; drive gently until temperatures normalize for consistent charging.
Supercharger and Public Charger Problems

Cold‑weather readiness reduces pack stress, but charging stalls can still occur at Superchargers and public stations due to site faults, handshake errors, or vehicle‑side limits. Verify station availability in your app and prioritize sites reporting high charger reliability. On arrival, inspect the pedestal: look for damaged connectors, bent pins, or debris; don’t use compromised hardware. Seat the plug firmly and hold until the latch clicks. If you see repeated “Preparing” timeouts, stop, reinsert, and try another stall, preferably a different power cabinet.
- Diagnostic: check port LEDs, read Charging screen faults, note charger ID and connector temperature.
- Mitigations: precondition en route, move to a different cabinet, reduce current, avoid paired stalls under load.
- Safety: avoid damaged connectors, keep cable off water, dry contacts, and report.
Account, Payment, and Authorization Issues

Why does a session fail before power flows? Authorization usually fails before contactors close. Verify the Tesla app shows your VIN, active Supercharging, and a valid payment method. Update expired cards, resolve billing disputes, and confirm no outstanding balances or chargeback flags. Check two-factor status; complete prompts in the app, then retrigger the session. For third‑party networks, make sure your RFID/app account is funded and the vehicle’s VIN is linked; some sites require roaming agreements enabled.
Confirm cellular connectivity for both car and phone; without it, backend token exchange can time out. Sign out/in to refresh tokens, or reinstall the app. If you’re locked out, start account recovery, then reassign vehicle ownership. For safety, don’t block a stall while troubleshooting; move after repeated failures attempts.
Charge Port, Latch, and Manual Release Steps

When the charge port won’t open, latch, or release a connector, treat it as a controlled mechanical/electrical fault and proceed methodically. Confirm the vehicle is unsecured, in Park, and that the port door responds to the touchscreen and key fob. Inspect for ice, dirt, or mis-seated pins; correct mechanical alignment before retrying. Power-cycle: Controls > Safety > Power Off for two minutes, then wake the car.
- Use the on-screen Open and Unlatch commands; listen for the actuator. If silent, suspect fuse or actuator failure.
- Apply approved latch lubrication sparingly to the latch pin and door hinge; avoid contaminating contacts.
- For a stuck cable, press and hold the connector button, then pull the manual release tab behind trunk trim.
If faults persist, schedule service immediately.
Conclusion
When charging falters, treat the system like a circuit map: trace power, verify limits, inspect hardware, and validate software. You start with safety—car in Park, dry connectors, proper breaker capacity—then move methodically through outlets, cables, and settings. Confirm firmware and app connectivity, reduce current if needed, and precondition in cold. At public sites, test another stall and authenticate payment. If you see heat, arcing, or persistent faults, stop, power-cycle, and contact service immediately for assistance.