You’ll find charging at home straightforward once you know the options and what your electrical panel can handle. This guide walks you through Level 1 vs Level 2, installation choices, permits, smart scheduling and battery care. Start here to avoid costly mistakes—but there’s one key decision that will determine cost and convenience.
Key Takeaways
- Choose Level 1 for overnight convenience or Level 2 for faster daily charging based on commute and desired miles per hour added.
- Have a licensed electrician assess your panel, add a dedicated 240V circuit if needed, and obtain required permits and inspection.
- Pick a UL/ETL-listed charger with adjustable current, compatible connector, adequate cable length, and a user-friendly app for scheduling and monitoring.
- Schedule charging during off-peak hours, set charging limits to your battery’s recommended state of charge, and enable smart load management.
- Follow safety: keep connectors dry, park on level ground, inspect cables and plugs regularly, and verify grounding and GFCI protection.
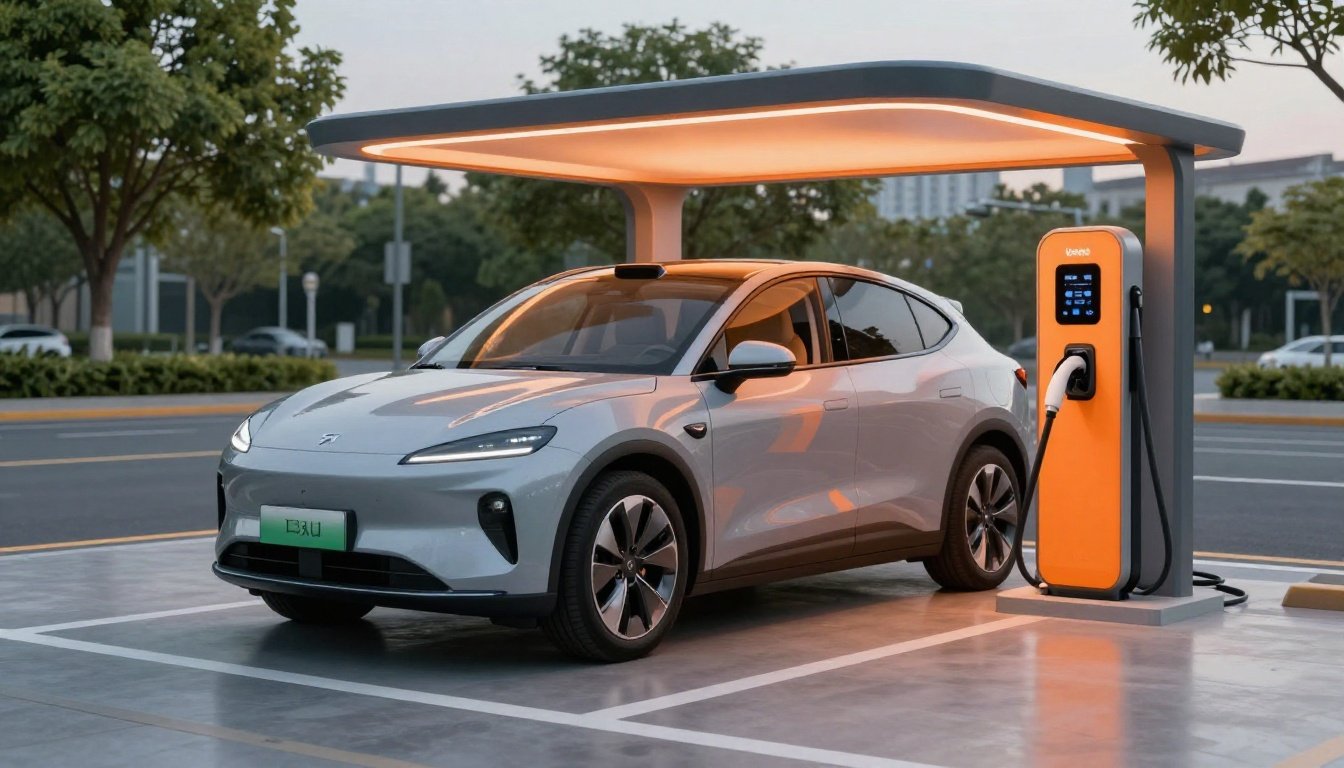
Understanding Level 1 and Level 2 Charging: Speed, Cost, and Use Cases
")
While Level 1 uses a standard 120V household outlet and adds roughly 3–5 miles of range per hour, Level 2 runs on 240V and typically delivers 15–60 miles per hour, so you’ll choose based on how quickly you need to recharge.
Level 1’s low cost and simple plug-in setup suit overnight charging and occasional drivers; it’s safe if you use a dedicated outlet, avoid extension cords, and inspect cords regularly. Level 2 costs more for equipment but cuts charging time dramatically, making it ideal if you drive daily or need faster turnarounds; install and maintain the station per manufacturer guidance.
For both, follow safe handling: keep connectors dry, park on level ground, and verify your vehicle’s charging settings before starting. Ask questions when unsure.
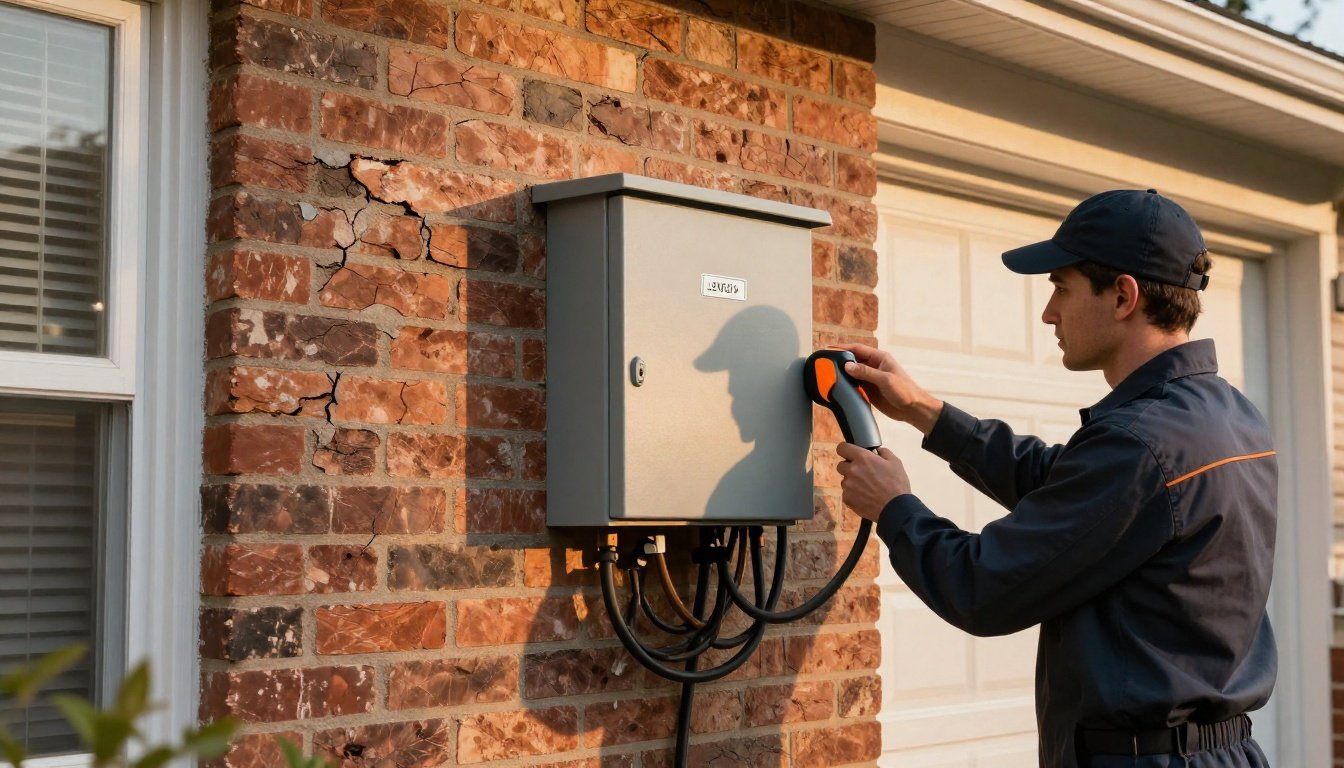
Assessing Your Home’s Electrical Capacity and What Upgrades Might Be Needed
")
Now that you know whether Level 1 or Level 2 fits your driving needs, check whether your home’s electrical system can support the charger you want. Start by reviewing your main panel rating (amps), existing load, and available breakers. Hire a licensed electrician to perform a load calculation and recommend whether a dedicated circuit, new wiring, or service upgrade is required.
They’ll also confirm grounding, GFCI protection, and conduit needs. Expect permits and an inspection for safety and code compliance. Plan for clear access and weatherproofing where the outlet or charger will be installed. Keep documentation of the work and ask for warranty and inspection reports to guarantee safe, reliable charging.
- Panel capacity check
- Dedicated circuit installation
- Permit and inspection required
Choosing the Right Home EV Charger: Features, Brands, and Warranty
")
Because your driving patterns, electrical setup, and budget differ, pick a charger that fits the power level (kW/amps), connector type, and installation constraints you have, and that offers the features you’ll actually use—adjustable charging current, scheduling and smart charging (Wi‑Fi or app control), cable length and swivel, NEMA/plug compatibility, and safety certifications. Compare reputable brands like ChargePoint, Enel X/JuiceBox, Wallbox and Tesla for proven reliability, secure firmware updates and clear safety documentation.
Prioritize UL/ETL listings, ground-fault protection, and overcurrent safeguards. Choose a model with a straightforward app, energy reports and local support. Review warranty length, what’s covered (electronics, labor), and extension options; keep registration and proof of installation to preserve coverage. If unsure, consult a licensed electrician before purchase and follow all manufacturer instructions.
Hardwired vs. Plug-In Chargers: Pros, Cons, and Installation Considerations
Choosing between a hardwired and a plug-in home EV charger affects installation, flexibility, and cost, so factor this decision into your overall charger choice. Hardwired units mount permanently to a dedicated circuit, reduce trip risks from loose connections, and often offer higher continuous power. Plug-in units give portability, let you unplug for service or relocation, and simplify temporary setups, but they can be less tidy and may require heavier-duty cords.
Choose hardwired for permanent high-power stability; choose plug-in for portability and installation flexibility
For safety, match charger rating to your circuit, protect the outlet or breaker, and follow manufacturer instructions.
- Hardwired: pros—stability, cleaner install; cons—permanent, less portable.
- Plug-in: pros—flexible, portable; cons—cord wear, potential loose connections.
- Safety tips: use rated equipment, keep dry, inspect regularly.
If you have doubts, pause and prioritize safety over convenience and routine maintenance.
Finding and Working With a Qualified Electrician for Installation
Before you schedule installation, verify the electrician’s license and proof of insurance to protect yourself and meet code.
Ask for multiple written quotes that break down labor, parts, permits, and potential upgrades. Compare estimates not just on price but on timelines, warranty terms, and scope so you pick a qualified pro.
Verify Licensing and Insurance
If you’re hiring an electrician to install your home EV charger, verify they’re licensed and carry adequate insurance. Don’t proceed without confirming credentials: licensing shows they meet local code and training, while insurance protects you if damage or injury occurs. Ask for license number, insurer name, and policy limits, and verify both with issuing agencies. Keep copies of documents with your project records.
Request license number and confirm it’s active with the state or local authority.
Ask for proof of general liability and workers’ compensation insurance; note policy limits.
Verify certificates directly with insurers and document expiration dates.
Protect your household by insisting on verified professionals before any work starts. If something seems off, pause and contact the local building department for immediate guidance.
Compare Quotes and Estimates
Get at least three written quotes so you can compare scope, price, and what’s included rather than just sticker cost. Ask each electrician to itemize labor, parts, permits, inspection fees, and potential upgrades like panel work or conduit.
Request timelines, warranty terms, and details on safety tests such as ground-fault protection and bonding. Verify the quote references your address and charger model. Don’t accept vague estimates; get written confirmation of who’ll pull permits and schedule inspections.
")
")
Compare total cost and risk—cheapest isn’t always safest. Call references and confirm licenses and insurance match the quote. When one bid seems too low, ask why; unexpected shortcuts can compromise safety and void warranties.
Keep all quotes for your records and share them with your home insurer.
Installing a Dedicated Circuit, Panel Upgrades, and Permits Explained
You’ll likely need a dedicated 240V circuit for a Level 2 charger, and that often means your electrician will assess your panel’s load, add a new breaker or subpanel, and run the proper wiring to meet code. You should hire a licensed electrician to confirm capacity, guarantee GFCI/grounding, and size conductors and conduit correctly.
A Level 2 charger usually requires a dedicated 240V circuit—have a licensed electrician assess and install.
Permits and inspections protect you and satisfy local codes; don’t skip them.
- Confirm panel capacity and upgrade if required.
- Install a dedicated breaker, appropriately sized wire, and conduit.
- Obtain permits, schedule inspections, and keep documentation.
Follow manufacturer and NEC guidelines, keep clear access to the panel, and use certified equipment. Prioritize safety during installation to prevent fire and shock hazards. Ask for written estimates and warranty details before work begins.
Setting Up Smart Charging, Scheduling, and Time-of-Use Optimization
You can set charging schedules on your home charger to run when rates are lowest. Use your charger’s app or vehicle settings to program start/stop times and limit charging power.
Align those schedules with your utility’s time-of-use rates to cut costs and avoid peak demand charges.
Set Charging Schedules
Typically, homeowners set charging schedules through their vehicle or charger app, letting the system delay charging until off-peak hours to take advantage of lower time-of-use rates. You’ll set start and end times, target state of charge, and safety limits so charging happens when you want and equipment stays within safe parameters.
Test a schedule and monitor the first few cycles for faults or unusual heat. Keep cords dry, connectors clean, and don’t force plugs. Update firmware and app permissions to maintain secure control. If you need help, contact a qualified electrician or your charger support.
- Set desired charge window and maximum state of charge.
- Enable smart charge safety features and current limits.
- Schedule tests and review logs for anomalies.
Prioritize safety.
Optimize for TOU Rates
When your utility uses time-of-use (TOU) pricing, set your charger or car to charge during the lowest-rate windows and limit charging outside those periods; review your tariff, identify off-peak hours, and program charging to finish before your morning departure.
Use your vehicle’s app or a smart EV charger to schedule sessions, enable delayed start, and cap charge level to recommended daily range for battery health. If you need a mid-day top-up, prefer lower-power trickle or target only the range you’ll use.
Check that firmware and apps are updated, and verify settings after daylight saving changes. Monitor charging logs weekly to confirm compliance and spot anomalies.
For safety, always follow manufacturer load, grounding, and ventilation guidance when adjusting settings or installing equipment and service records.
Charging Safely: Best Practices, Weather Considerations, and Fire Prevention
Although rare, charging-related fires can be devastating, so follow strict safety steps. Inspect your EVSE, cable, and connector before every use; don’t use damaged gear, and only install chargers by certified electricians with a dedicated circuit and a working ground-fault device.
Keep the bay clear, ventilated, and dry; avoid running cables through doorways or under mats. Monitor charging via app or charger indicators and unplug if you see smoke, burning smells, or overheating. Have a Class C or multipurpose (ABC) extinguisher accessible and working smoke detectors near garages. Also keep vehicle software updated and follow manufacturer alerts regularly.
- Use UL/ETL/CE-listed chargers and avoid extension cords.
- Shield charging equipment from extreme weather; park to reduce exposure.
- Schedule professional inspections every 1–2 years.
Maximizing Battery Health: Charging Limits, Frequency, and Long-Term Storage
Beyond safe setup and fire prevention, how and when you charge has the biggest impact on long-term battery health. Keep daily charging between about 20–80% where possible; avoid regular 100% fills and deep discharges. Use scheduled charging to top up before trips and finish charging shortly before you leave.
Favor slower AC (Level 2) charging for routine use; reserve DC fast charging for occasional long trips. Monitor battery temperature—charge in moderate temperatures and park in shade or a garage when extreme heat or cold’s expected.
If storing the car long-term, set state-of-charge to roughly 40–60%, unplugments won’t harm modern systems but check monthly and maintain a trickle if recommended. Follow manufacturer limits and alerts for best longevity. Keep records of charging habits and anomalies.
Charging Options for Renters and Multiunit Housing: Permissions and Shared Solutions
How can you get reliable home charging if you rent or live in a multiunit building? Start by checking lease and building policies, then speak to your landlord or HOA about a safe, dedicated parking circuit and liability coverage. If onsite upgrades are needed, request professional quotes and insist on permits and code-compliant installation.
Request permission: Propose clear, written plans, show safety certifications, and offer reasonable cost-sharing.
Shared stations: Install a managed Level 2 charger with user accounts and load management to prevent overloads.
Alternative options: Use workplace charging, public fast chargers, or portable EVSE with a rental agreement until building solutions are approved.
Ensure all electrical work is inspected and documented for safety and insurance. Keep records for future liability.
Conclusion
Now you’re set to charge at home with confidence. Start simple, think ahead, and pick the setup that matches your driving and budget. Work with a licensed electrician, use smart scheduling, and follow safety practices to protect your battery and home. Like tuning a musical instrument, small adjustments keep everything in harmony—consistent charging, sensible limits, and weather-aware precautions will make your EV reliable and ready whenever you need it for years to come, every trip.