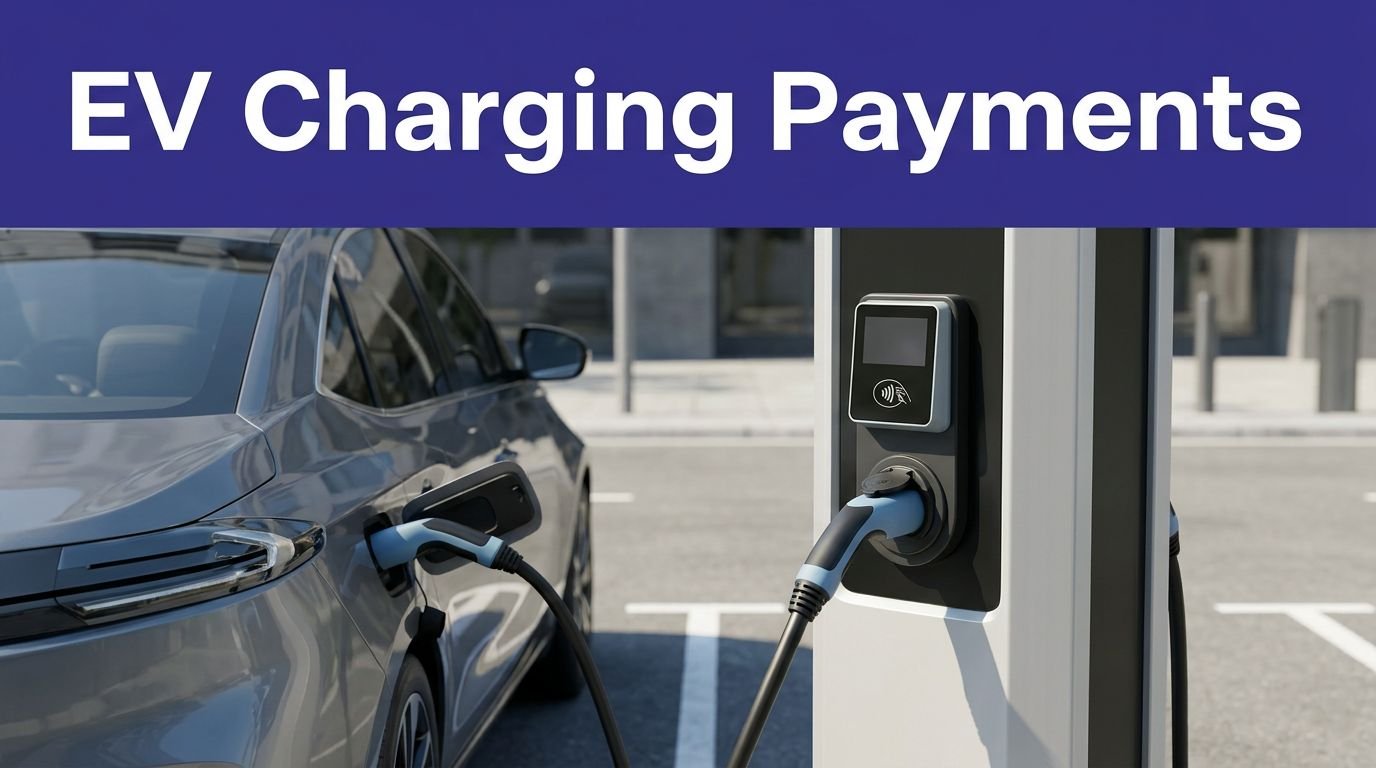
A detached garage EV charger sounds simple until you look at the gap between the house and the garage. Electricity has to cross that gap, usually underground, and it doesn’t care that you can see the building from your kitchen window.
The good news is that installing a detached garage EV charger is a manageable project when you plan the electrical load, trench, conduit, and permits before anyone starts digging. Here’s how to approach it without turning your yard into a surprise electrical archaeology site.
Key Takeaways
- A Level 2 charger usually needs a dedicated 240-volt circuit.
- Your main service panel must have enough capacity for the new continuous load.
- A detached garage may need an underground feeder, subpanel, grounding electrodes, and a local disconnect.
- Trench depth depends on the conduit type, route, and local code.
- Use a licensed electrician and obtain the required permit before installation.
Plan the Detached Garage EV Charger Before Buying Hardware
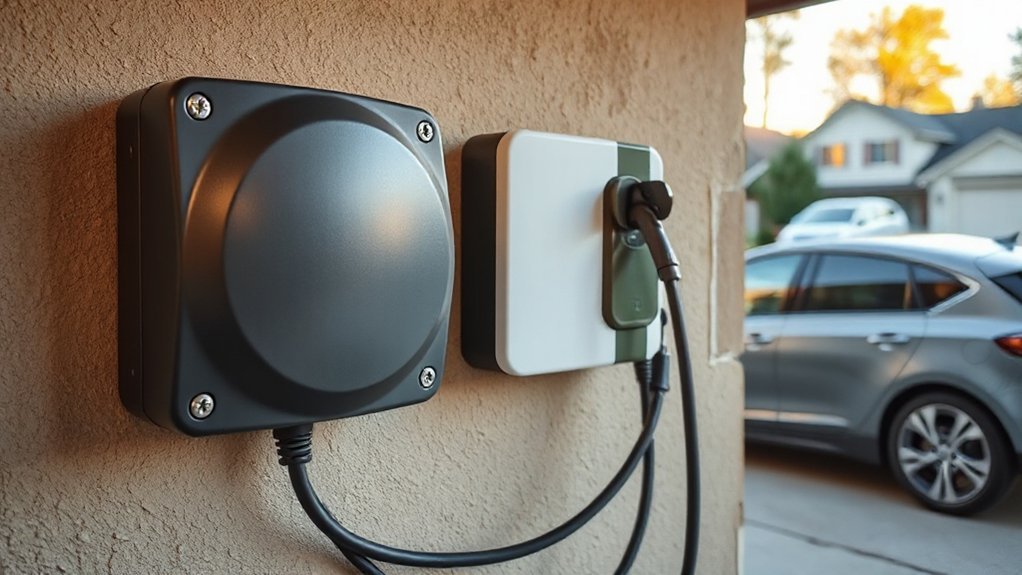
Start with your parking position, not the charger catalog. Where does the vehicle sit? Where will the cable hang? Will the charger be inside the garage, beside the garage door, or on an exterior wall?
A charger mounted in the wrong place creates a daily obstacle course. The cable crosses a walkway, the connector hangs at shoulder height, and someone eventually drives over it. Then everybody stands around saying, “We should have thought about this earlier.”
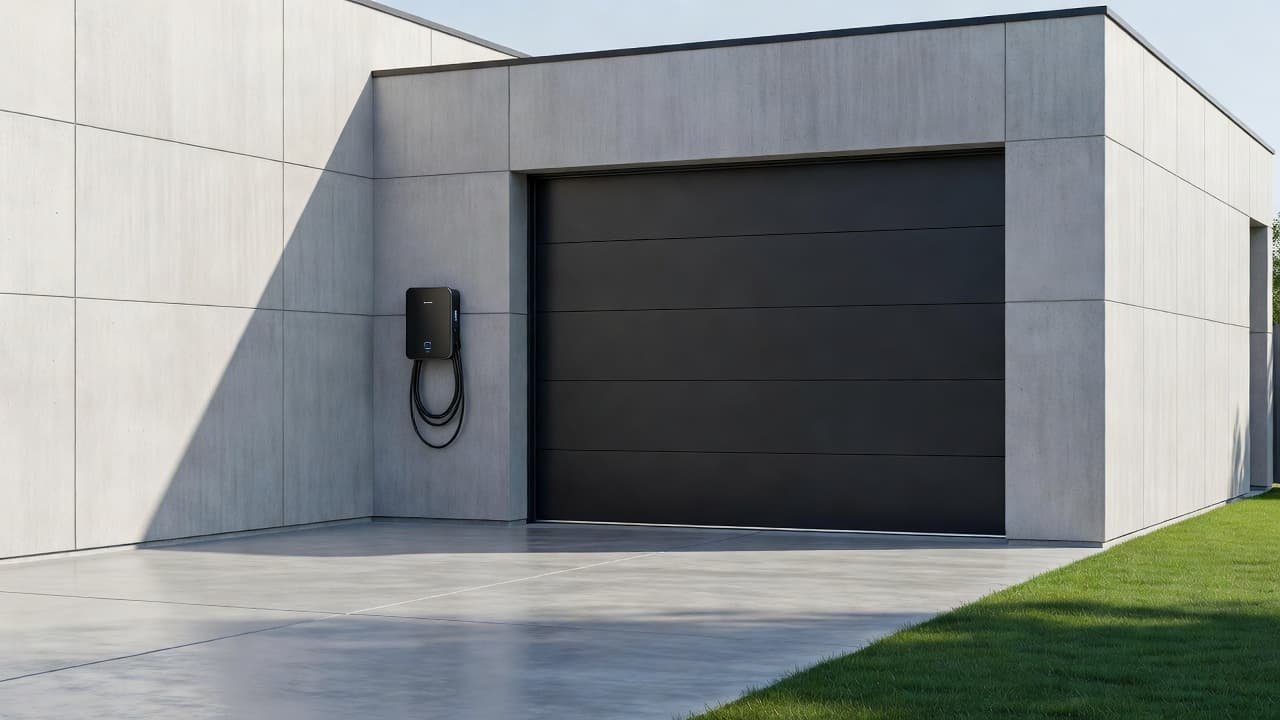
The next question is whether you need Level 1 or Level 2 charging. Level 1 uses a standard 120-volt outlet and can work for low-mileage drivers. It is also slow. Level 2 uses 208 or 240 volts and is the practical choice for most drivers who want overnight charging.
Many Level 2 units draw between 32 and 48 amps. Because EV charging is treated as a continuous load, the circuit usually needs to be rated at 125% of the charger’s maximum current. A 32-amp charger commonly uses a 40-amp circuit. A 40-amp charger commonly uses a 50-amp circuit, while a 48-amp unit often needs a 60-amp circuit.
Those are common configurations, not permission to grab a breaker and hope for the best. The electrician must check the charger’s listing, wire ampacity, installation method, temperature ratings, voltage drop, and local amendments.
Your service panel also needs a load calculation. A 200-amp service doesn’t automatically have 200 amps available for new equipment. The panel may already support an electric range, heat pump, water heater, hot tub, workshop, and the world’s most ambitious collection of freezers.
Mount Prospect, Illinois, provides a useful example of local-code thinking. Its detached-garage provisions address panel calculations, dedicated charging circuits, spare underground conduits, and the possibility that a subpanel may be necessary. Rules differ by jurisdiction, so check with your authority having jurisdiction, usually the city or county building department.
A practical detached-garage installation guide can help you identify the site questions to ask before requesting quotes. Your local code office has the final word.
Choose Between a Dedicated Circuit and a Garage Subpanel
There are two common electrical layouts.
The first runs a dedicated EV charging circuit from the home’s main panel to the charger in the detached garage. This can work when the route is short, the charger is close to the panel, and the conductors can be installed correctly in underground conduit.
The second sends a feeder to a subpanel in the garage. The subpanel then supplies the EV charger and possibly other garage loads, such as lighting, receptacles, a door opener, or a small workshop circuit.
A subpanel often makes more sense when the garage is far from the house or already has several electrical needs. It also gives the electrician a clean place to separate circuits instead of filling the main panel with a long collection of oddly routed conductors.
A detached structure isn’t electrically independent just because it has four walls and a lawn between it and the house. The feeder may require separate grounded and grounding conductors, a grounding electrode system at the garage, and a disconnecting means near the structure. The exact arrangement depends on the adopted NEC edition, existing wiring, and local requirements.
The neutral and equipment grounding conductor also need proper treatment at a subpanel. They aren’t interchangeable, and bonding them in the wrong place can create objectionable current on metal parts. This is not the moment for the classic home-improvement strategy of “I watched three videos and the fourth one looked easier.”
For a plug-in charger, the electrician may install a 14-50 receptacle or another configuration approved for the equipment. The receptacle must be rated for the continuous load and installed in a suitable box. A hardwired EVSE eliminates the plug and receptacle connection, which can be useful for a permanent garage installation.
A home EV charger planning guide is useful when comparing a hardwired Level 2 unit with a receptacle-based setup. Follow the vehicle and charger manufacturer’s instructions, not a random outlet recommendation from a comment thread.
Route the Underground Wiring Correctly
The distance between the house and garage drives much of the installation. A short route across open soil is one thing. A route under a concrete driveway, around mature trees, and past an irrigation system is another thing entirely.

Before trenching, locate underground utilities. Call the appropriate locating service and identify private lines that public utility locators may not mark, such as landscape lighting, irrigation wiring, private gas lines, and an old cable run installed by a previous homeowner with more confidence than documentation.
The underground wiring usually runs through conduit. Schedule 40 or Schedule 80 PVC is common below grade, while rigid metal conduit may be used where the wiring needs additional physical protection. The burial depth is not one universal number.
Common 2023 NEC figures cited for residential EV-charging runs include 18 inches of cover for rigid nonmetallic conduit and 6 inches for rigid metal or intermediate metal conduit. Direct-buried conductors can require 24 inches. Driveways and parking areas may have separate requirements. The adopted code and the exact wiring method control.
A trench that is deep enough in the garden may not meet the requirement under a driveway. The route changes the rule.
The electrician will also account for conduit fill, bending space, pulling tension, conductor insulation, and voltage drop. Long runs can require larger conductors even when the breaker size stays the same. Bigger wire costs more, but replacing an undersized underground run later costs considerably more and involves digging the same hole twice.
If the garage will eventually have a second charger, a welder, or larger electrical loads, ask about spare conduit before the trench is closed. Empty conduit is cheap compared with reopening a finished driveway. Some local governments even require spare conduits for new detached garages.
At the garage, protect exposed conduit and cable from vehicles, tools, lawn equipment, and the person who stores a shovel by swinging it around like a sword. The charger should also be mounted at the height and clearance specified by its manufacturer.
The route should keep the cable away from vehicle tires and pedestrian paths. If the charger sits outside, select equipment rated for the outdoor conditions and provide the required weather protection.
Install the Charger in the Right Order
A professional installation usually follows this sequence:
- The electrician inspects the main panel, garage wiring, service rating, grounding, and proposed charger location.
- A load calculation confirms whether the existing service can support the EVSE.
- You select the charger, charging current, mounting location, and circuit arrangement.
- The electrician prepares the permit drawings or application and confirms the inspection requirements.
- Underground utilities are located, then the trench is excavated to the approved route and depth.
- Conduit, conductors, feeder equipment, subpanel, disconnects, and grounding components are installed.
- The EVSE is mounted, terminated, configured, and tested according to its instructions.
- The inspector checks the work before the trench or electrical equipment is concealed.
The charger should be listed and labeled for EV charging. Look for equipment recognized by the applicable safety certification system, such as UL listing where required. The breaker and circuit directory should identify the charging circuit clearly.
Do not use an extension cord for routine Level 2 charging. Don’t share the circuit with a dryer, compressor, freezer, or garage receptacles. The charger needs a circuit designed for its load, not a creative arrangement that works until everything turns on at once.
Ground-fault protection requirements depend on the equipment, receptacle, location, and locally adopted code. Outdoor installations and garage receptacles often receive special attention. Your electrician should verify whether GFCI protection is required and how it interacts with the charger.
A conduit guide for detached-garage EV chargers can help you understand the questions behind the trenching quote. It cannot replace a site-specific design or permit review.
What Changes the Installation Cost?
The charger itself is only one line on the estimate. The electrical work can include:
- A service or panel upgrade
- A new garage subpanel
- Underground trenching and surface repair
- Conduit and larger conductors for a long run
- Grounding electrodes and a local disconnect
- Permit fees and inspection corrections
- Concrete cutting, tree-root avoidance, or driveway work
- Charger mounting and final configuration
An easy installation with an available panel position and a short open-soil trench is much different from a long run beneath a finished driveway. Ask each contractor to separate equipment, electrical labor, excavation, restoration, permit fees, and possible upgrades.
A useful quote should also identify the charger amperage, breaker size, conductor type, conduit type, trench assumptions, and what happens if the load calculation fails. “Install charger” is not a complete scope of work. It is a sentence with several expensive nouns hiding inside it.
Get at least two or three quotes from electricians who regularly install EVSE. Ask whether they will handle the permit and inspection. Ask whether the quoted price includes trench restoration. Ask what spare capacity remains for a second charger.
Test the System Before You Call It Done
After installation, confirm that the charger starts reliably and that the vehicle recognizes the selected current. Check the cable path, connector storage, indicator lights, and any app or scheduling features.
The panel directory should be updated. Keep the permit and inspection records with the home’s electrical documents. If the garage has a subpanel, make sure its circuits are identified clearly.
Pay attention during the first several charging sessions. Warm equipment, nuisance breaker trips, damaged insulation, burning smells, buzzing, or a hot receptacle needs immediate attention. Stop charging and call the electrician if anything seems wrong.
The finished charger should feel boring. You park, plug in, and walk away. That is the goal. The exciting part belongs in the road trip, not inside the breaker panel.
Conclusion
Installing a detached garage EV charger takes more planning than mounting a box on the wall. Confirm the service capacity, choose the right circuit design, route underground wiring to code, and secure the required permit before work begins.
For many homes, a Level 2 charger with a properly sized dedicated circuit or garage subpanel is the cleanest answer. Treat the trench and panel calculation as seriously as the charger itself, and the setup should provide dependable overnight charging for years.
This post may contain affiliate links. If you make a purchase through these links, I may earn a small commission at no extra cost to you.