The average EV charger installation cost for a single-family home typically ranges from $1,000 to $2,500 in 2026. While a straightforward professional installation might cost less, certain site complications can quickly increase the total. Factors like a long cable run, an outdated electrical panel, or the need for trenching across a driveway can push the final bill beyond $5,000.
That price tag can be frustrating because it includes more than just the hardware. You might buy a charger for $600, only for an electrician to discover that your electrical panel dates back to an era when households had much lower energy demands.
Here is a breakdown of what you are actually paying for, which factors change the price, and how to obtain an accurate quote that avoids unexpected financial surprises.
Key Takeaways
- A standard Level 2 charger home installation usually costs $1,000 to $2,500.
- The charger hardware often costs $400 to $900, with the remaining balance covering labor costs and professional electrical work.
- Significant project additions, such as a panel upgrade, trenching, installation in a detached garage, or an extended cable run, can add $1,500 to $5,000 or more to the final price.
- Level 1 charging may cost almost nothing if a suitable 120-volt outlet already exists in your garage or driveway.
- Federal incentives have shifted in 2026, so be sure to verify current state programs and utility rebates before finalizing your budget.
- Your total installation price may vary depending on whether you require a new 240V outlet or if your existing electrical infrastructure is ready for immediate use.
Typical EV Charger Installation Cost in 2026
For most homeowners, a professional installation for a Level 2 charger costs between $1,000 and $2,500. This estimate assumes the house has sufficient electrical capacity, the garage is reasonably close to the panel, and the electrician does not need to perform extensive rewiring.
A basic setup may land near $700 to $1,200. This typically applies to projects with a short cable route and an existing circuit. However, a more complex installation can range from $2,500 to $6,000 when it includes new conduit, trenching, service upgrades, or the needs of a detached garage.
These are U.S. planning ranges for July 2026. Local labor rates, permit fees, equipment prices, and utility requirements can fluctuate, so expect your final quote to vary based on these factors.
| Home charging setup | Typical 2026 cost |
|---|---|
| Level 1 charging (existing 120-volt outlet) | $0 to $300 |
| New 120-volt outlet | $200 to $600 |
| Basic Level 2 charger with NEMA 14-50 outlet | $900 to $2,000 |
| Hardwired installation for 240V outlet | $1,000 to $2,500 |
| Long cable run or difficult conduit route | $2,000 to $4,000 |
| Panel upgrade with charger installation | $3,000 to $6,000+ |
| Detached garage with trenching | $2,500 to $7,000+ |
This table accounts for typical equipment and labor costs, but it does not include the long-term utility costs associated with charging your vehicle.
A Level 2 charger remains the standard choice for single-family homes because it uses 240V power to add roughly 25 to 40 miles of range per hour. Conversely, Level 1 charging uses a standard 120-volt outlet and typically provides only 3 to 5 miles per hour. If you only drive short distances daily, Level 1 might suffice, but Level 2 is far more efficient if you need a quick turnaround. When planning your project, ensure your home electrical capacity is sufficient to handle these loads, as this is a primary factor in determining your overall project scope.
Where the Installation Money Goes
Many homeowners see a wall-mounted charger priced at $500 and mistakenly assume the project is complete. In reality, purchasing the hardware is only the first step. You have acquired the appliance, but you have not yet prepared your home to safely deliver electricity to your vehicle.
A typical invoice for an EV charger installation covers several distinct components:
- The Level 2 charger, or charging equipment, often costs between $400 and $900.
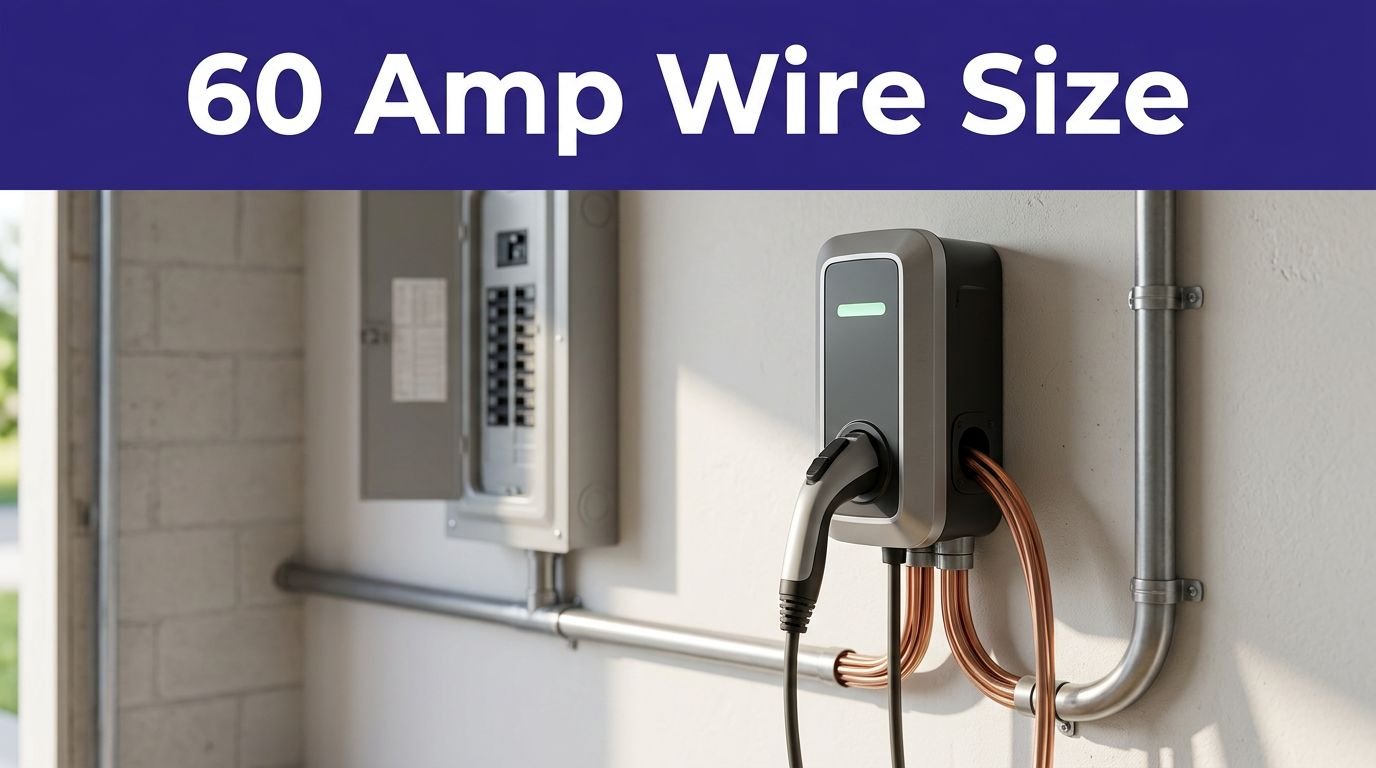
- A dedicated circuit requires a new circuit breaker, along with heavy-duty cable and conduit to carry the power.
- Labor costs reflect the time spent routing cable, mounting the equipment, making connections, performing safety tests, and site cleanup.
- Permit fees vary by city and county, and they are a necessary part of ensuring the work meets safety standards.
- A panel upgrade or the installation of a load-management device may be necessary if your existing service cannot support the additional draw.
- Exterior work can add expenses for weatherproof boxes, concrete repair, protective bollards, or trenching for detached garages.
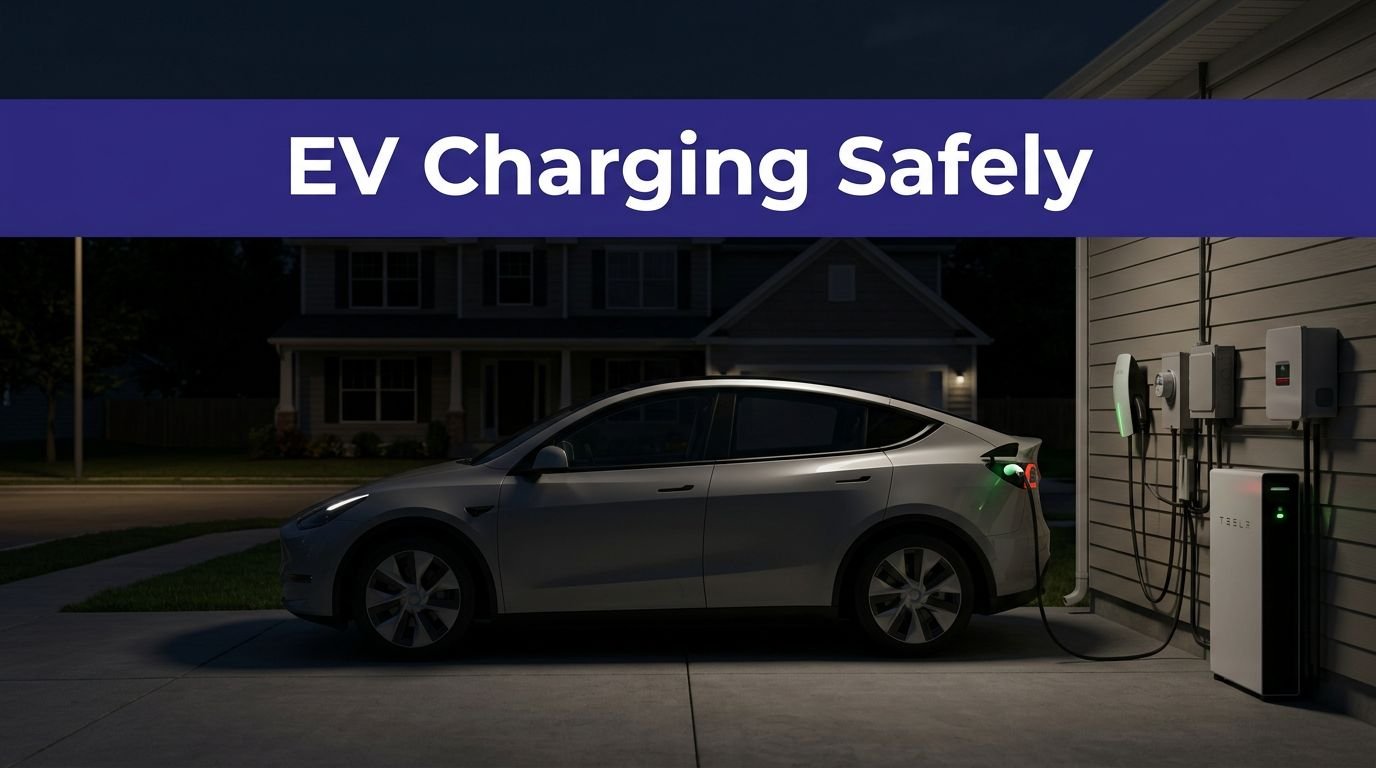
Electric vehicle wall units are commonly called chargers, but the technical term is electric vehicle supply equipment, or EVSE. While the vehicle itself contains the internal charger that manages battery health, the wall unit acts as the gatekeeper, controlling the connection and delivering power safely. While this distinction might be tedious at a dinner party, it is vital when reviewing an electrical quote.

Photo by Ed Harvey
Hardware prices fluctuate based on amperage, Wi-Fi connectivity, cable length, weather ratings, and installation method. Whether you choose a plug-in unit or a hardwired connection, popular residential options include the ChargePoint Home Flex, the Tesla wall unit, Wallbox Pulsar Plus, Emporia EV Charger, and Grizzl-E models. The ideal hardware choice for your home depends on your specific vehicle, existing electrical capacity, local climate, and utility requirements.
A lower-cost unit can be perfectly safe as long as it is certified, correctly installed, and used within its electrical limits. However, a premium charger does not excuse poor workmanship. An expensive, feature-rich wall box connected to an undersized circuit is simply a safety hazard waiting to happen.
Level 1 or Level 2: Which Home Setup Makes Sense?
Level 1 charging uses a standard 120-volt receptacle. Many EVs include a portable charging cable, so the equipment cost can be close to zero. You still need a safe outlet that can handle continuous charging, and the circuit should not share heavy loads with space heaters, freezers, or workshop equipment.
Level 1 charging works well for drivers with short commutes, plug-in hybrids, or plenty of overnight charging time. It also makes sense when upgrading the electrical system would cost more than the charging routine justifies.
Level 2 charging uses a 240V outlet to deliver faster speeds. Residential units often operate at 32, 40, or 48 amps. A 48-amp charger typically requires a 60-amp circuit breaker because EV charging is treated as a continuous load under electrical rules. The exact requirements for your amperage depend on the equipment and the local authority having jurisdiction.
A plug-in Level 2 unit usually connects to a NEMA 14-50 outlet. That gives you flexibility if you move or replace the charger, but the receptacle and wiring still need to be installed properly. Loose connections at a high-current outlet can create heat, damage, and a smell that nobody wants coming from the garage wall.
A hardwired installation connects the unit directly to the circuit. These units often have fewer exposed connection points and may offer better weather protection. Hardwiring is usually preferred for outdoor locations or when using higher-power equipment.
Your vehicle also has a limit. If the onboard AC charger accepts only 7.2 kilowatts, installing an 11.5-kilowatt wall unit will not make it charge at 11.5 kilowatts. The extra capacity may help with future vehicles, but it will not change the charging speed of your current car.
What Raises or Lowers the Price?
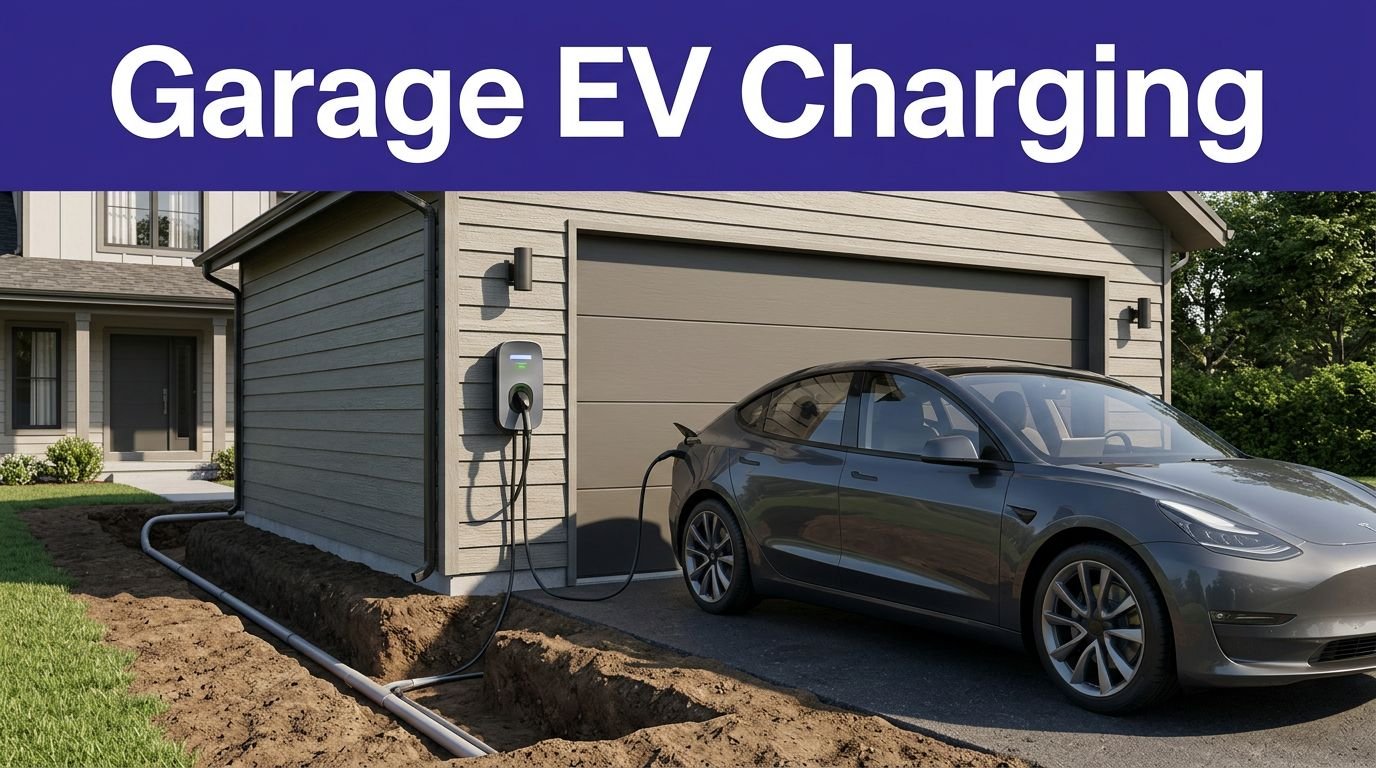
The distance from panel to the charger location is one of the most significant cost factors. A charger mounted on the garage wall directly beside the electrical panel is a straightforward task. However, a long wire run to the opposite side of the house, or to a detached garage, can significantly increase labor costs and material requirements.
Cabling may need to be routed through finished walls, ceilings, crawl spaces, or attics. Longer routes necessitate more material and intensive installation efforts. Outdoor paths often require weather-resistant conduit and physical protection to ensure safety and code compliance.
The installation environment also plays a role. An unfinished garage with exposed framing is easier to wire than one with finished drywall, insulation, and custom cabinetry. Complex surfaces like concrete, brick, or stucco, as well as the need for underground trenching, will drive up the final price.
Your electrical service capacity is another major variable. While a home with 200-amp service may easily accommodate a charger, a 100-amp panel might require an electrical panel upgrade if you are also running heavy loads like electric heat, an electric range, or a hot tub. Keep in mind that having an empty breaker slot does not necessarily mean you have the available capacity; a professional load calculation is the only way to determine if your system can safely support a new EV charger.

Finally, consider the permit fees and local regulations. While some jurisdictions have streamlined online processes, others require an electrical permit and inspection for any Level 2 installation. Avoiding these requirements can cause significant complications during a future home sale or insurance claim.
Costs tend to fall when:
- The electrical panel is located close to the charger installation site.
- The house already has existing 240-volt wiring that meets current code.
- The installation can be routed through accessible, unfinished spaces.
- The charger is mounted indoors.
- No panel upgrade or trenching is necessary.
Costs rise when:
- The electrical panel is full, undersized, or requires an upgrade.
- The garage is detached, necessitating a long wire run.
- The parking location is far from the electrical service.
- The cable must be installed under concrete or across a driveway.
- The project requires extra work, such as a new ground rod, a subpanel, or extensive exterior conduit.
- Local building codes mandate specialized equipment beyond the manufacturer requirements.
When reviewing your quote, ask the electrician to break down the specific expenses. An estimate that simply says “Electrical work, $2,800” is not detailed enough. You should look for a breakdown that specifies the length of conduit, the amperage of the breaker, the gauge of copper cable, anticipated permit fees, and the estimated labor costs. Having this level of detail allows you to evaluate exactly what you are paying for and why.
Panel Capacity, Load Calculations, and Permits
An EV charger can draw a significant amount of power for several hours at a time. That is why a qualified professional must perform a load calculation before recommending a specific circuit size. This diagnostic process evaluates your home’s existing demand and planned equipment to determine if your current electrical capacity can safely support the new charging setup.
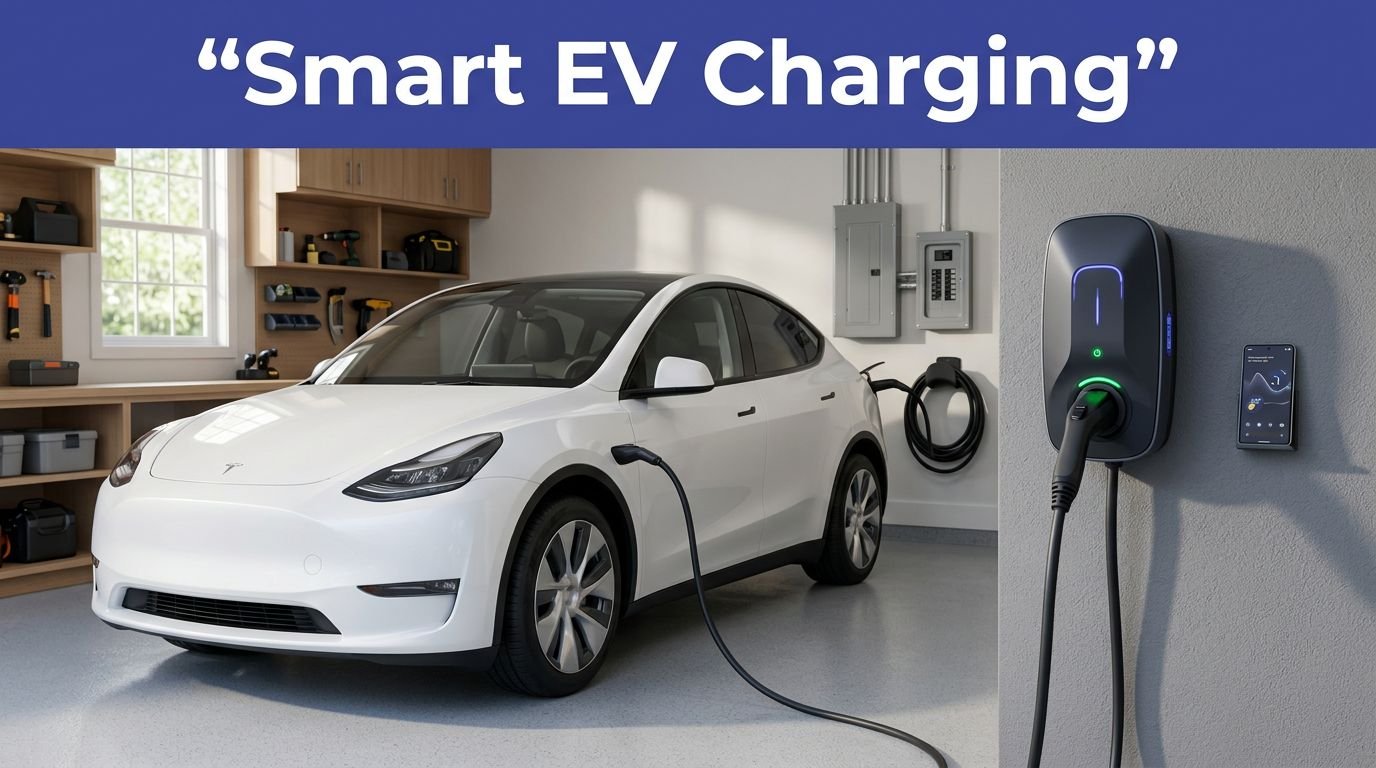
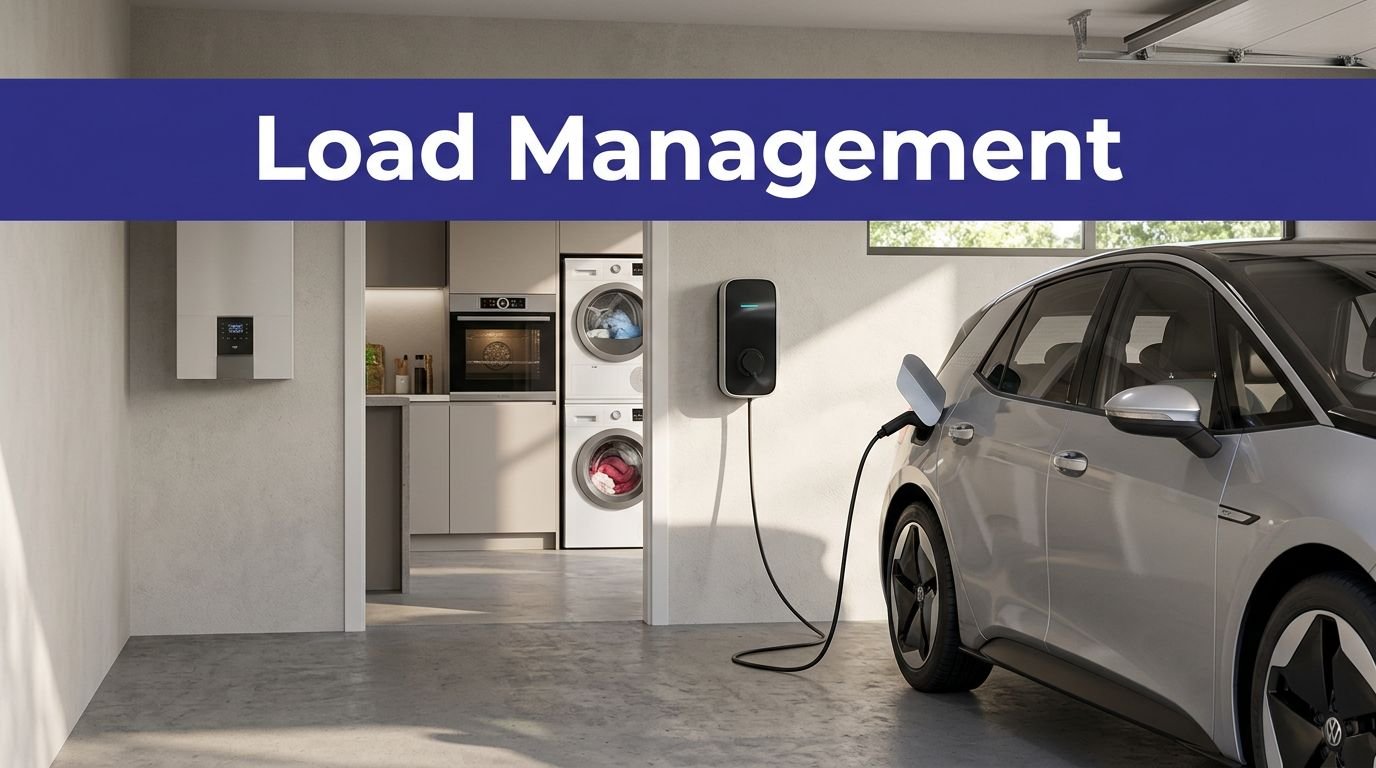
The calculation accounts for major energy consumers, such as heating and cooling systems, water heaters, cooking appliances, dryers, and workshops. If your home cannot handle the additional load, an electrician might suggest a smart energy management system. These devices monitor your total energy usage and can lower the vehicle charging rate when other heavy appliances, like an electric dryer or heat pump, are active. This approach can be more cost-effective than an electrical panel upgrade, provided the hardware is compatible with your setup and accepted by local inspectors.
If your home’s infrastructure is insufficient, an electrical panel upgrade might be necessary. This process often involves more than just replacing the breaker box; it may require a larger service connection, new meter equipment, utility company coordination, updated grounding, and necessary repairs to walls or siding. For many older homes, transitioning to a 200-amp service is the standard solution to ensure long-term reliability. Because of these variables, quotes can fluctuate significantly, ranging from modest service adjustments to thousands of dollars for a full system overhaul.
Always refer to the National Electrical Code information from NFPA as a baseline, but remember that local code adoption ultimately dictates your project requirements. Municipalities may enforce different editions of the code or add specific local amendments that impact how your circuit breaker and wiring are installed.
The charger circuit must be dedicated to your EV hardware. Avoid the temptation to connect to an existing garage outlet simply because it is nearby. Doing so creates a fire hazard and risks overloading your system.
To ensure safety and compliance, always hire a licensed electrician who is experienced with EV charging installations. Ask for proof of licensing, insurance, and their history of handling local permits. Before work begins, your installer should clearly explain the final operating amperage, the required circuit breaker size, wire type, disconnect requirements, and the step-by-step inspection process.
Federal, State, and Utility Incentives in 2026
Leveraging available incentives can significantly lower your total EV charger installation cost, though the landscape for these financial benefits shifted in 2026.
Under current tax law, the federal tax credit for the Alternative Fuel Vehicle Refueling Property Credit under Section 30C generally concluded for eligible property placed in service after June 30, 2026. Prior to this expiration, qualifying residential property owners could claim a credit of 30 percent of the total project cost, subject to a $1,000 limit and specific census tract location requirements. Because eligibility was not universal, it is essential to review the IRS guidance on the alternative fuel refueling property credit before filing your taxes.
Beyond federal measures, state programs and utility rebates remain valuable resources for homeowners looking to offset expenses. Some utility providers offer a direct, fixed rebate for the purchase of eligible charging equipment. Other programs provide partial reimbursement for electrical panel upgrades or wiring work, often requiring you to hire a participating contractor or meet specific household income thresholds.
The Department of Energy’s incentives database is an excellent resource for tracking updated federal and state policies. Additionally, the DSIRE incentive database serves as a comprehensive tool for identifying localized state, municipal, and utility programs.
Always read the specific terms and conditions before purchasing any hardware. Many utility rebates require pre-approval, the use of a specific model of charging equipment, or mandatory enrollment in utility-led time-of-use rates. Other common requirements include proof of electrical inspection or verification that the project was completed by a licensed, approved contractor. Always confirm your eligibility before buying your equipment, as missing a single requirement can turn a potential rebate into a lost savings opportunity.
How to Get an Accurate Installation Quote
Start by gathering your vehicle information, preferred charger model, and your parking location. A professional installation requires clear communication regarding your needs, specifically whether you want a Level 1 or Level 2 setup, the charger’s maximum amperage, and whether the unit will be installed inside your garage or outdoors. If you need help finding a qualified professional, services like Qmerit can connect you with a network of certified installers.
Send photos to your contractor before the site visit. Include clear images of your electrical panel, the proposed charger location, the route between them, your utility meter, and any driveway or potential trenching areas. While a photo cannot replace an in-person inspection, it helps prevent a quote based on incorrect assumptions about site access.
Get at least two or three detailed estimates from a licensed electrician. Ask each contractor to answer the same questions:
- Based on my home’s current capacity, what amperage and circuit size do you recommend?
- Does the quote include the charger, wiring, conduit, circuit breaker, permit, final inspection, and all labor costs?
- Will you perform a comprehensive load calculation to ensure the home remains safe?
- Is a panel upgrade strictly required, or could a load management device work instead?
- Who handles utility coordination and the scheduling of the municipal inspection?
- How does the distance from panel to the charger affect the price, and how will you handle a long wire run?
- Is the charger covered by a manufacturer’s warranty after the installation is complete?
- What specific certifications, contractor licenses, and insurance coverage does your company carry?
Compare the full scope of work, not just the final total. One quote may include a budget charger and basic permit fees. Another may include a high-end unit, thicker gauge wiring, specialized outdoor-rated conduit, and a multi-year labor warranty. The lower price is not automatically the more cost-effective project.
Be cautious with quotes that skip a formal site assessment, promise an unusually low total, or recommend a costly panel upgrade without providing a clear explanation. You should receive a transparent breakdown of your home’s electrical load, the proposed circuit requirements, and all materials included in the project.
For homes with older wiring, getting a second opinion is a sensible move. The most reliable installation is the one that gives you peace of mind rather than making you worry about your breaker panel every time you plug in your vehicle.
Frequently Asked Questions
Can I install an EV charger myself to save money?
While it is technically possible to mount the hardware yourself, the electrical work—including wiring, circuit breaker installation, and conduit routing—should be handled by a licensed professional. Improper installation can result in fire hazards, void your homeowner’s insurance policy, or lead to failed municipal inspections.
Why does a ‘short’ distance to the panel still cost over $1,000?
Even when the charger is close to your panel, the project involves critical components such as heavy-duty copper cabling, a dedicated circuit breaker, labor for wall mounting, and required permit fees. Professional electricians must also perform a load calculation to ensure your panel can safely support the continuous power draw required for EV charging.
What happens if my electrical panel is full?
If your panel lacks available space, an electrician might suggest a service upgrade or the installation of a load-management device. These smart devices monitor your home’s total power usage and automatically throttle the charger’s output when other heavy appliances are running, which can often be cheaper than a full service-panel replacement.
Is a hardwired installation better than a plug-in unit?
Hardwired installations are often preferred for outdoor locations because they eliminate the need for an expensive, weather-rated receptacle and reduce the number of potential failure points. While a NEMA 14-50 plug-in setup offers more flexibility if you decide to change or upgrade your charger, it requires a high-quality, properly installed outlet to prevent heat buildup.
Conclusion
For a single-family home in 2026, you should plan on $1,000 to $2,500 for a standard Level 2 charger installation. A short cable route and a modern electrical panel will typically keep the total EV charger installation cost toward the lower end of that range. However, variables such as trenching, wiring for a detached garage, difficult access, or the need for a service panel upgrade can significantly increase the final price.
Remember that the charger unit itself is only one part of the project. To ensure a smooth process, always ask your electrician for a load calculation, a detailed written quote, confirmed permit information, and a clear explanation of every electrical component required. Once those technical details are settled, the EV charger installation cost stops being a mystery and becomes a well-defined project that you can confidently budget for. By understanding the requirements for your Level 2 charger setup, you can move forward with your home upgrade with complete peace of mind.
This post may contain affiliate links. If you make a purchase through these links, I may earn a small commission at no extra cost to you.