Outdoor EV Charger Placement: What to Ask First
Outdoor EV charger placement starts with parking, cable reach, weather exposure and an electrician-planned circuit route for daily use.
As an Amazon Associate, EV Charging may earn from qualifying purchases. This helps support our independent guides at no extra cost to you. Learn more.
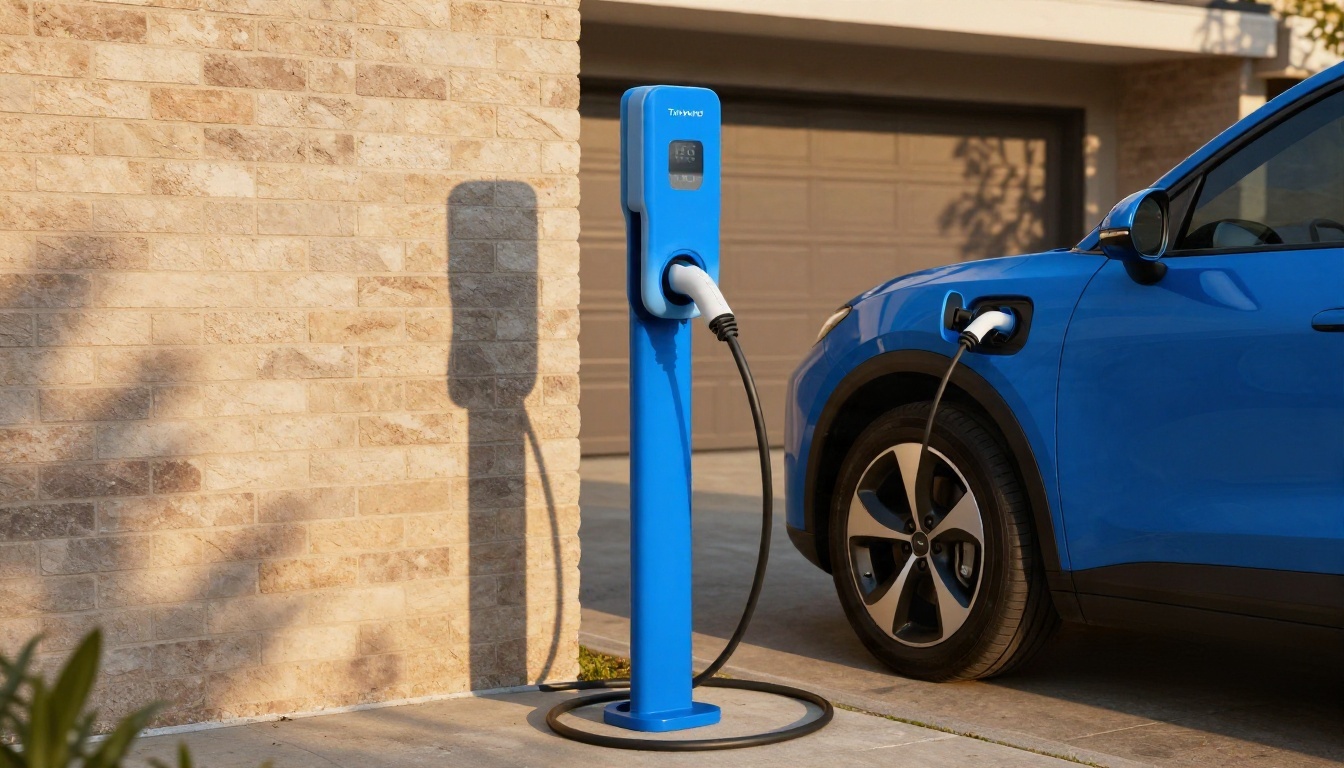
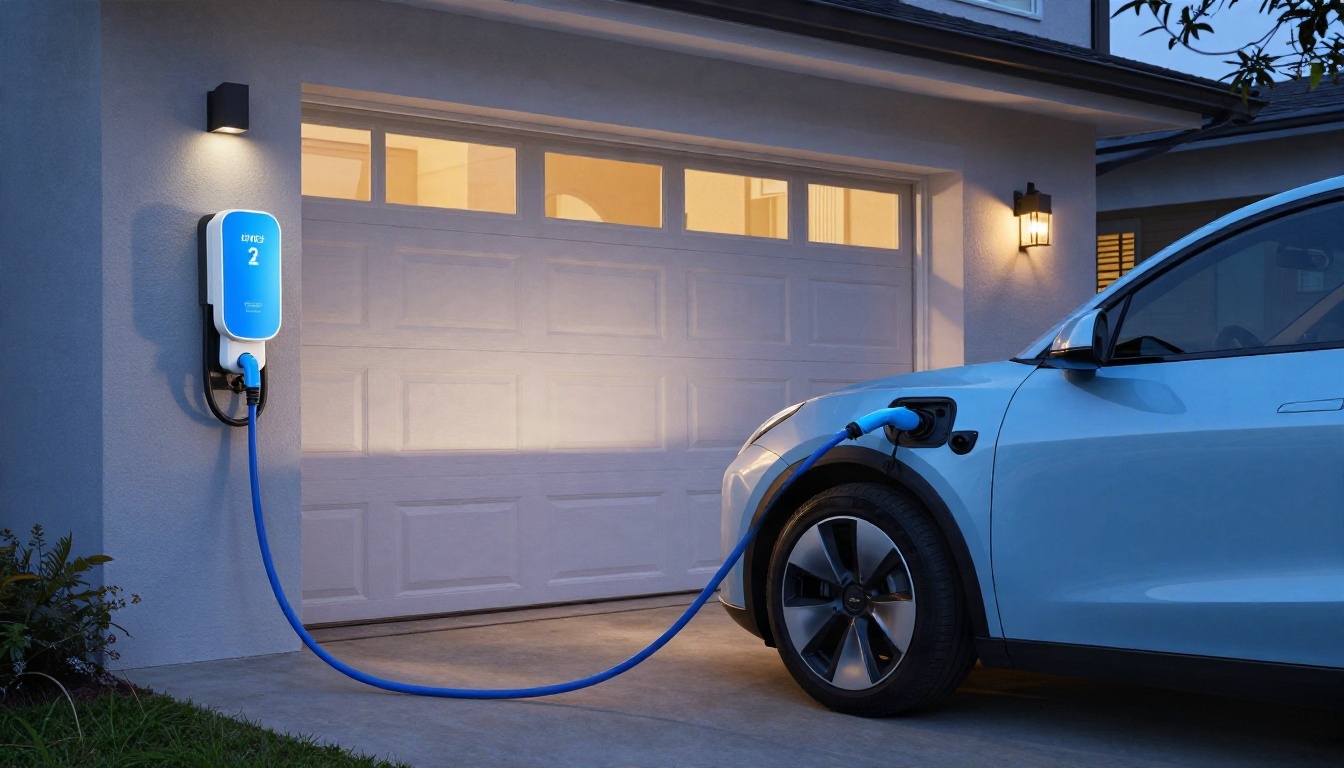
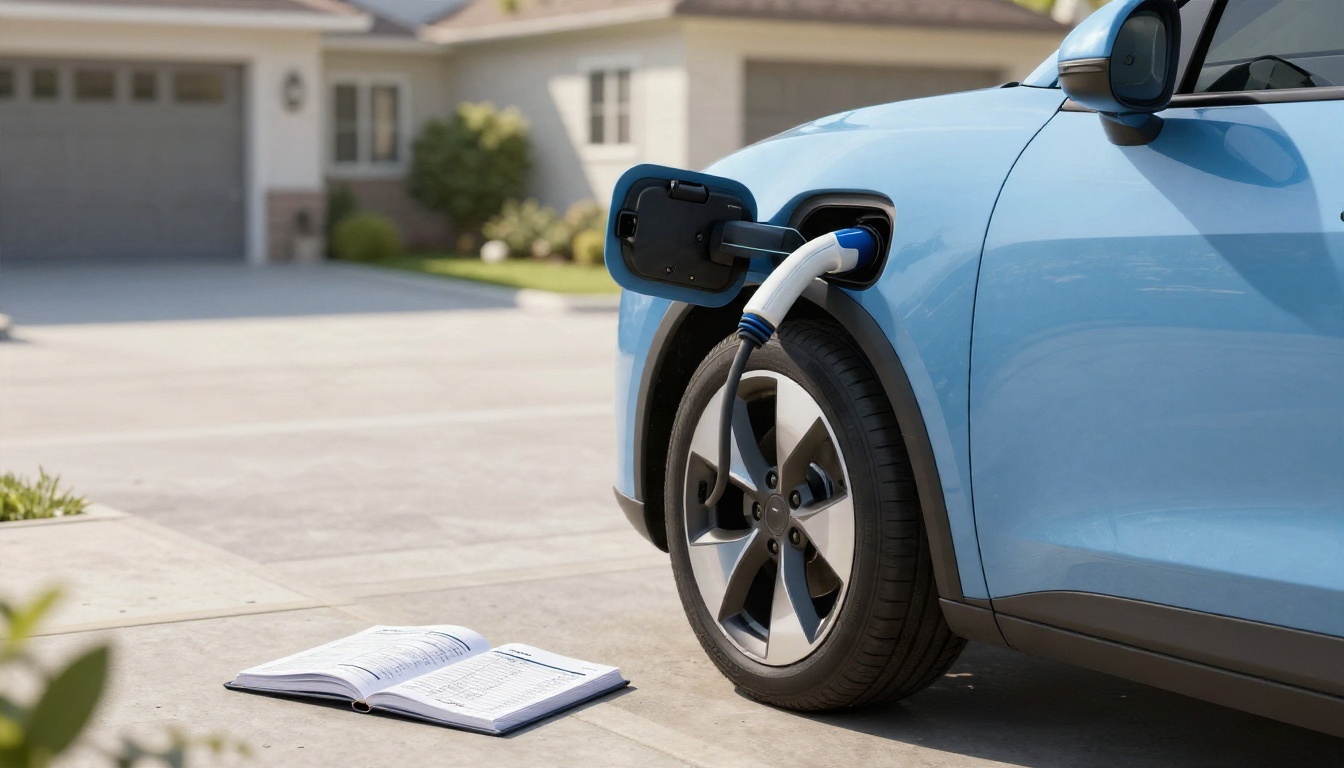
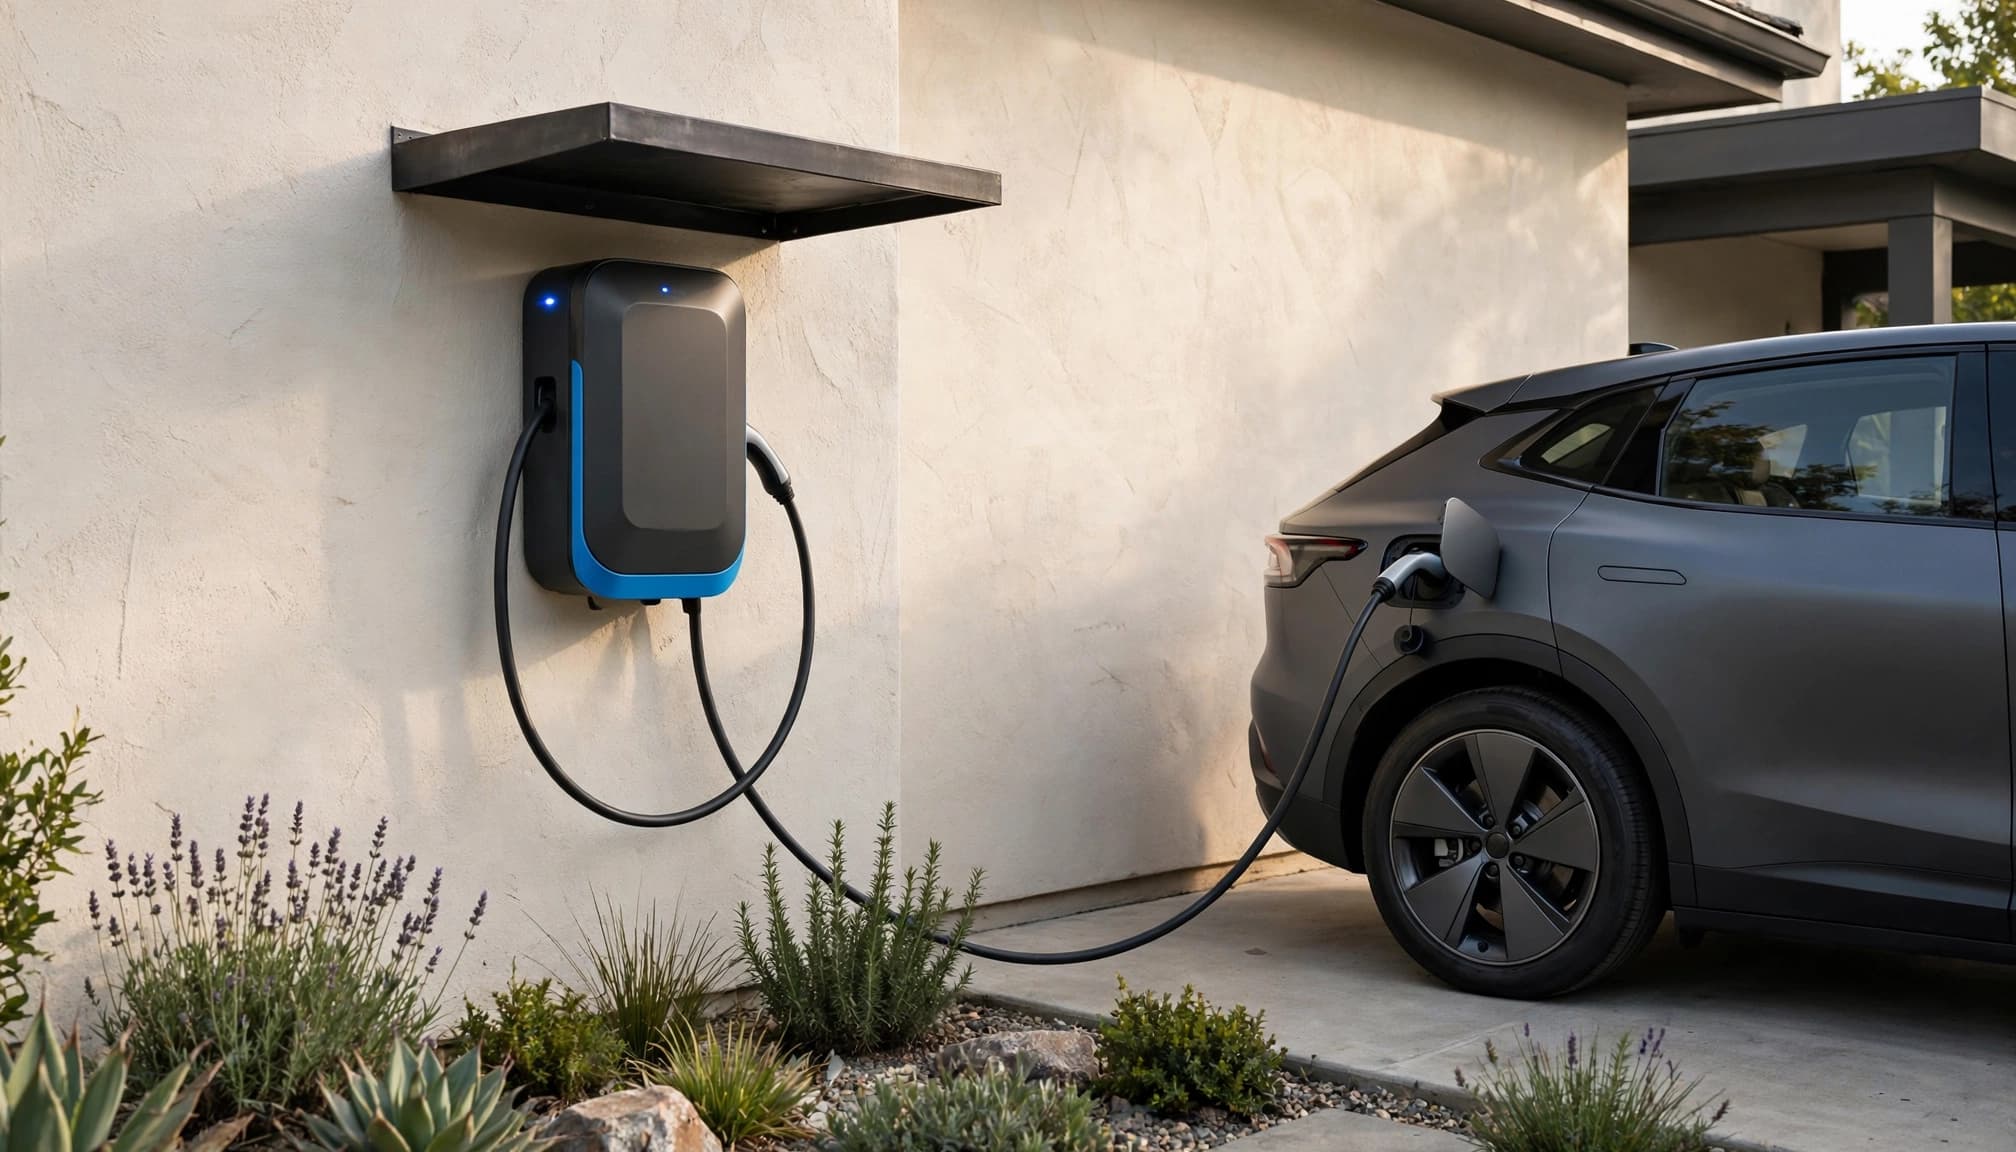
Good outdoor EV charger placement puts an outdoor-rated unit within comfortable cable reach of your parked car, away from walking paths and vehicle impact. The best spot also gives your electrician a practical circuit route without making charging awkward every evening.
That last part matters. You don't want a beautiful installation that requires parking gymnastics to plug in.
Start with where the car actually sits, then work back toward the electrical panel.
This post may contain affiliate links. If you make a purchase through these links, I may earn a small commission at no extra cost to you.
Start Outdoor EV Charger Placement With the Parked Car
Before choosing a wall, park normally. Include the other car, the bins and whatever usually occupies that driveway. An empty driveway can make almost any location look convenient.
Measure the Cable's Actual Route
Measure the route the charging cable will follow to the vehicle inlet, including any distance around the bodywork. A straight-line measurement through the car doesn't help anybody.
The U.S. Tesla charger (Gen 3 Wall Connector) documentation lists a 24-foot cable. That gives you a useful reference, but the full length won't necessarily be available between the wall and charging port. Cable routing and slack take their share.
The connector should reach without pulling sideways on the inlet. Avoid a location that depends on stretching the cable tight.
Leave Room for Doors and Daily Life
Open the vehicle doors and trunk. Walk your usual route toward the house. Picture carrying groceries while someone else is plugging in.
Keep the cable away from tires and the path between the driveway and front door. If two vehicles will share the charger, include both inlet positions in the plan.
Our guide to preparing for EV charger installation covers the homeowner's planning role without treating electrical work as a weekend project.
Would a Garage Location Work Better?
An outdoor charger makes sense when you park outside. An indoor charger makes sense when the vehicle lives inside. Simple enough, until one car is inside and the other is sitting in the driveway.
Then cable routing becomes the deciding issue.
This planning comparison shows what each location needs to accommodate.
| Placement Question | Indoors | On an Exterior Wall |
|---|---|---|
| Where does the car charge? | Best aligned with indoor parking | Best aligned with driveway parking |
| What can obstruct the cable? | Storage, door tracks and another vehicle | Walking routes, landscaping and tires |
| What needs protection? | Equipment exposed to bumps or garage activity | The complete installation exposed to weather |
| Where does the cable rest? | On a holder outside circulation paths | On suitable outdoor storage above the ground |
Choose the arrangement that works with your actual parking routine. A charger inside the garage becomes inconvenient if charging outside requires pinching its cable under the door.
For an indoor location, our garage charger placement guide looks more closely at parking alignment and usable wall space.
Is the Equipment Rated for the Exposure?
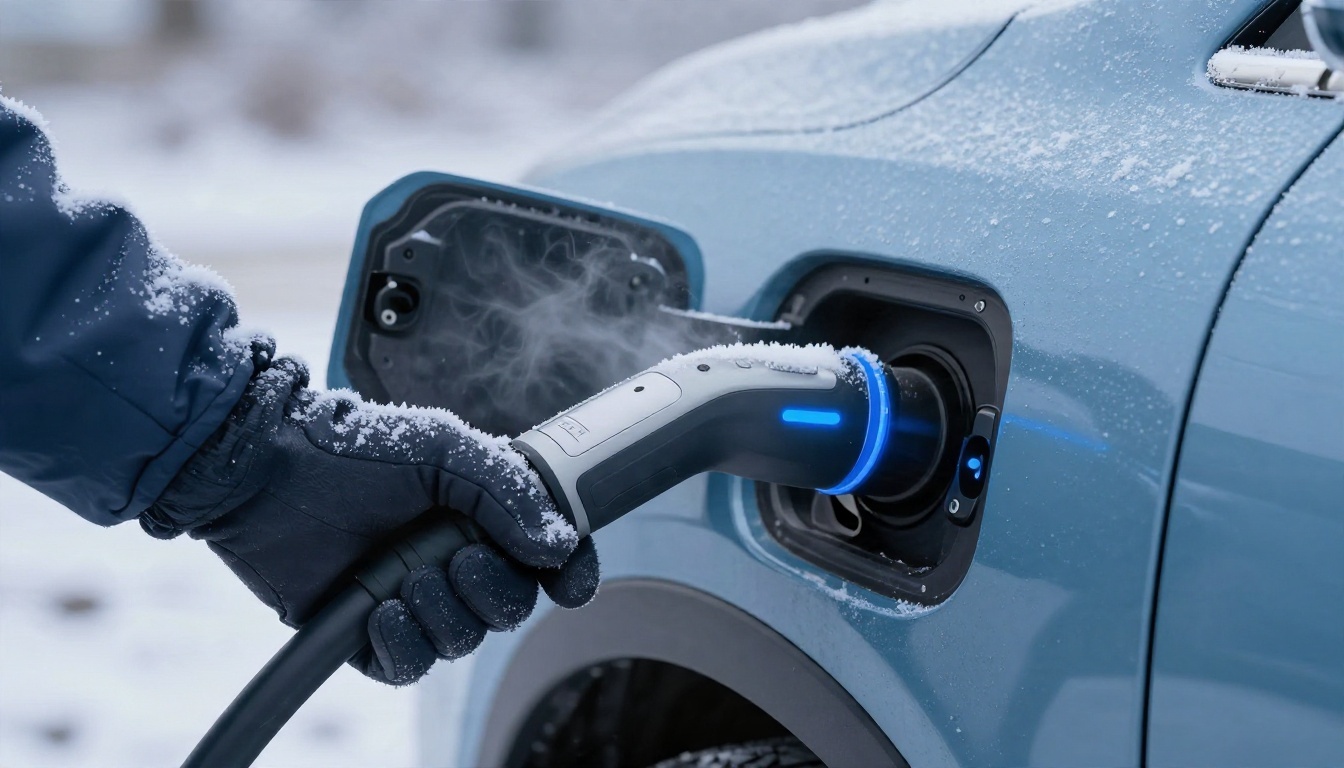
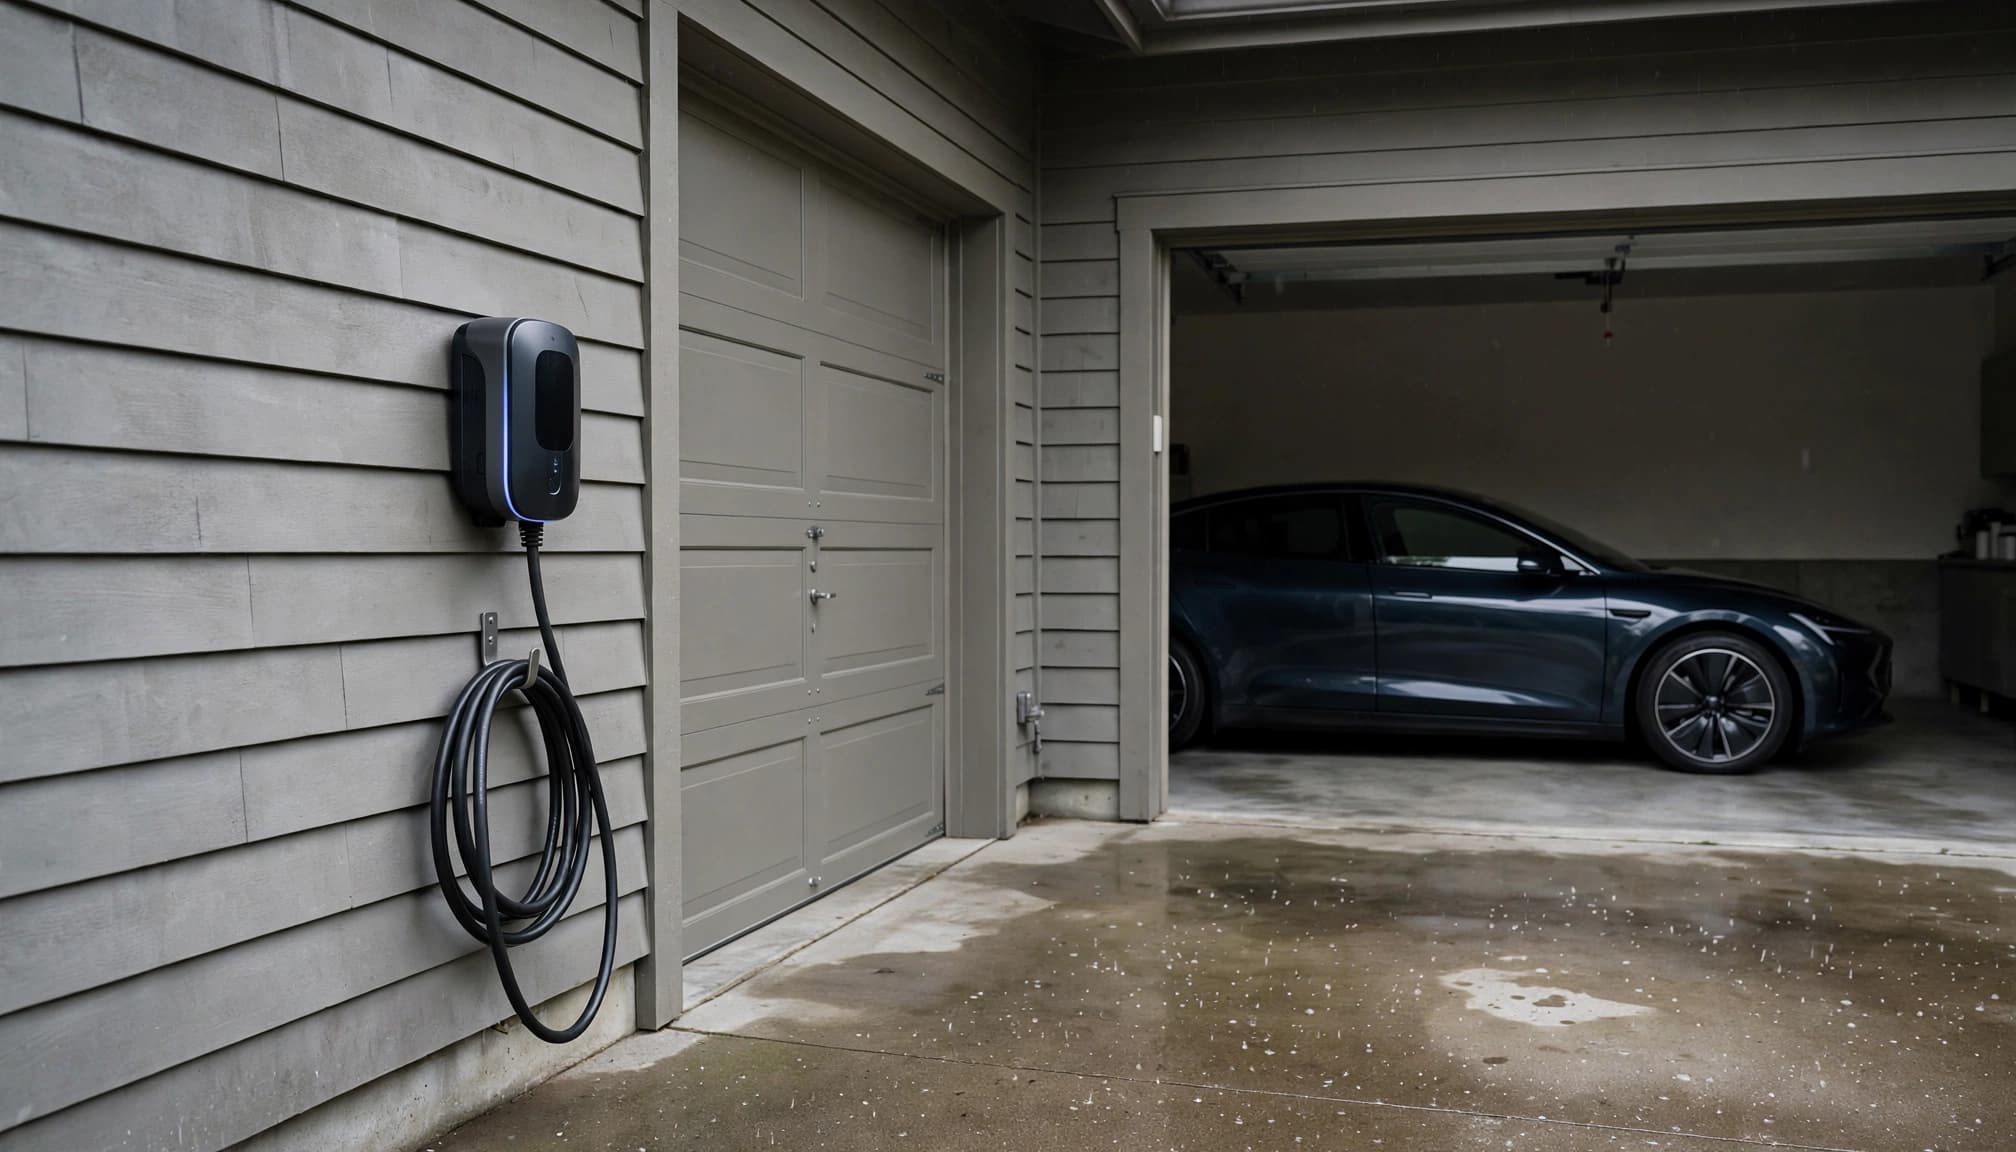
Yes, EV chargers can go outside. The U.S. Department of Energy's home charging guidance states that outdoor-rated equipment is required on the exterior of your home.
A covered porch or shallow roof overhang doesn't turn an exterior location into an indoor one.
Specify the Complete Outdoor Setup
The charging unit is only part of the arrangement. Cable entries, fittings, connector storage and any supplying receptacle also need to suit their location.
A protective enclosure around unsuitable equipment doesn't automatically create an approved outdoor installation. It can also interfere with access or the manufacturer's intended use.
Our guide to outdoor charger weather ratings explains why the equipment's rating and the complete installation deserve separate attention.
Plan for Water and Connector Storage
Look at where water collects and where roof runoff lands. Keep the connector out of puddles, irrigation spray and places where snow gets piled.
Give the cable a predictable storage route. Nobody should have to retrieve it from wet landscaping before every charge.
Follow the manufacturer's storage instructions, including any supplied protective cap. An improvised cover can trap moisture rather than solve the problem.
Can You Reach and Store the Cable Comfortably?
Mounting height affects more than appearance. You need to reach the connector, lift the cable and return everything to storage without an awkward bend.
For the U.S. Tesla Gen 3 Wall Connector, the installation documentation specifies these distances between the ground and the bottom of the unit: a 24-inch outdoor minimum, approximately 45 inches recommended, and a 60-inch maximum.
Those measurements belong to that product. They aren't a universal height rule for every charger.
Ask the electrician to show the proposed position on the wall before installation begins. Consider every regular user, including anyone with limited reach or mobility.
Also leave room beneath and beside the unit for the cable's natural loop. A neatly mounted charger can still be frustrating if its cable has nowhere sensible to go.
Our guide to charging cable organizers for your charging area covers holsters and holders. The useful question is simple: where will everything rest when you're done?
Which Panel Gives You the Practical Circuit Route?
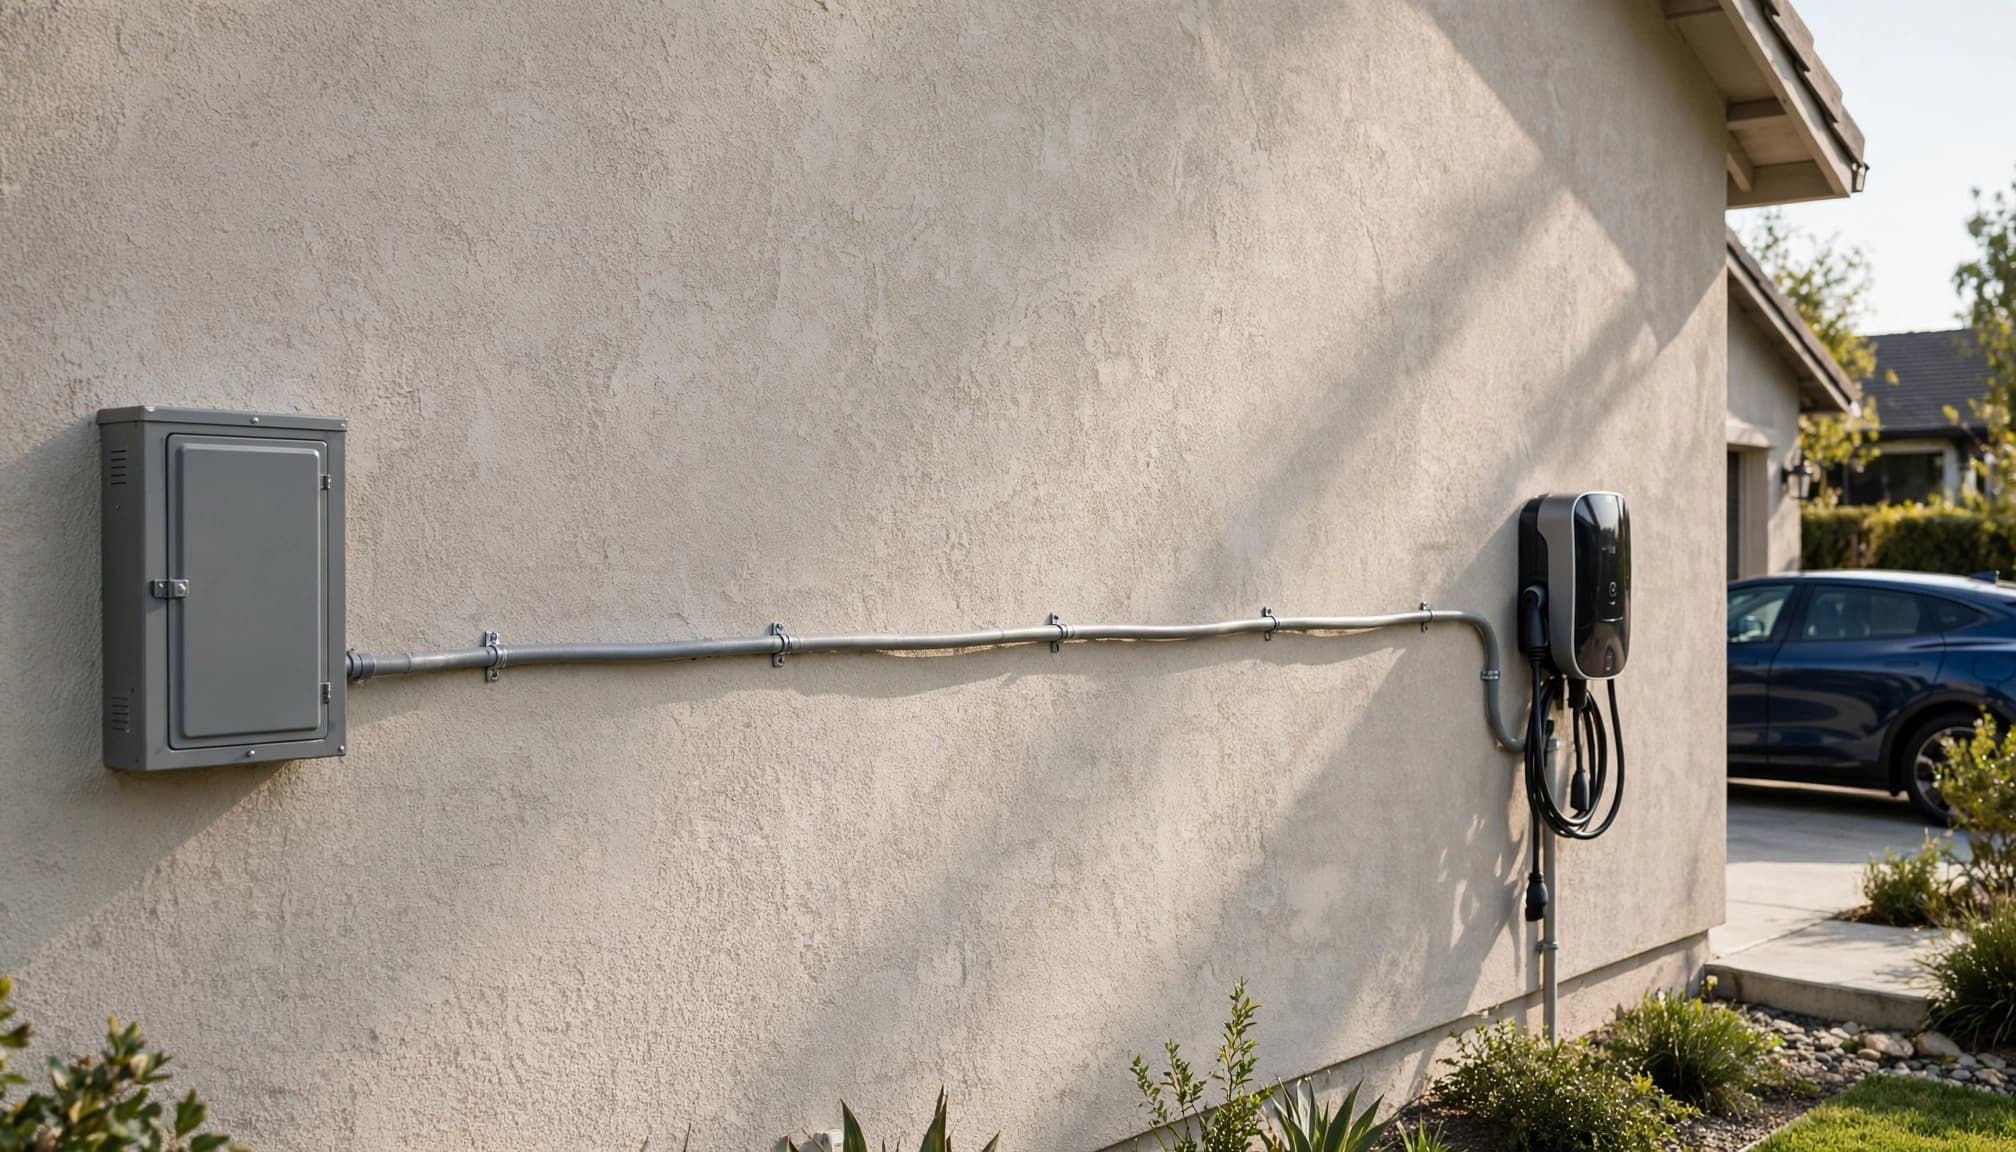
The nearest wall to the charging port and the nearest wall to the electrical panel may be different walls. Your electrician needs to assess convenience, the breaker panel's available capacity, and the circuit route.
Start With the Exterior-Facing Panel
An exterior-facing main service panel can provide a straightforward starting point for an outdoor charger circuit. It may avoid routing conductors through the house from an interior panel.
That doesn't make it the automatic choice. Available electrical capacity, equipment compatibility, and the route to the parking space still matter.
For a detached building, our detached-building charging guide covers the additional planning involved.
Keep Panel Work With the Electrician
In LRN2DIY's video, "The Easiest Way to Install an EV Charger," the presenter identifies a 150-amp main disconnect and switches it off before panel work.
That number describes his house. It doesn't establish the capacity available for another home's charger.
More importantly, switching off a main disconnect doesn't necessarily de-energize every part inside service equipment. Incoming service conductors can remain live.
Don't open the service panel yourself. Panel access, isolation, circuit installation, and testing aren't a homeowner DIY install. Ask your electrician whether local permits, inspections, or utility requirements apply, and whether the circuit route or available capacity affects the estimate.
How Much Charging Power Does Your Home Need?
A 60 amp breaker is common for a hardwired, 48-amp level two charger on a 60-amp circuit. It isn't required for every EV or household.
The tutorial's example uses a 60-amp, 240-volt, two-pole breaker. Charging is a continuous load, so the 80% rule gives you:
60 amps × 0.80 = 48 amps of continuous charging current.
The circuit breaker capacity follows the same relationship in reverse: 48 amps × 1.25 = 60 amps.
Assuming a 240-volt supply, 240 volts × 48 amps = 11,520 watts, or 11.52 kW. That's electrical input power, not a promise that the battery receives every watt.
The vehicle's onboard AC charger can impose a lower limit. A car that accepts less AC power won't charge faster because the level two charger can supply 48 amps.
Your electrician also needs to assess the home's existing loads at the breaker panel. Empty breaker spaces don't prove spare electrical capacity.
A 60 amp breaker doesn't authorize 60 amps of continuous EV charging. The charger must be configured for the circuit supplying it.
Lower charging current may fit your overnight routine perfectly well. Agree on the charging requirement before treating the highest available output as the goal.
What Do the Wiring Details Mean for Placement?
Wiring details affect which routes are suitable. They don't give homeowners a universal shopping list.
Understand the Conductors in the Example
LRN2DIY's installation uses six gauge (6 AWG) THHN conductors, including black and red hot conductors and an equipment grounding conductor, or ground wire. This hardwired setup doesn't require a neutral.
Two hots, a ground and no neutral can be correct for equipment designed for that supply. Other equipment or receptacle arrangements may differ.
Conductor size depends on the equipment instructions and installation conditions. THHN designation alone doesn't establish suitability for wet locations. Outdoor raceways require conductors with the appropriate wet-location rating.
Your electrician selects the conductor type, size and grounding arrangement.
Ask About the Complete Conduit Route
The video uses 3/4-inch liquid tight flexible nonmetallic conduit. It lists PVC cutters, liquid-tight connectors with locknuts and O-rings, plus 1-inch EMT clamps and outdoor-rated lag bolts. These tools and materials are specific to that example, not a general homeowner shopping list.
Those details don't establish that the same conduit, clamps or fasteners suit your wall.
For placement planning, ask where the conduit will run, how it will be supported and where equipment entries will be sealed. Ask the electrician to confirm the manufacturer's designated knockouts and the right seals for those entries. A route tucked against a wall may avoid damage better than one crossing an exposed corner.
Liquid-tight construction addresses moisture exposure when properly installed. It doesn't make a raceway immune to impact or tire damage.
How Will the Charger Attach to the Wall?
Stucco, brick, siding, and wood framing aren't interchangeable attachment surfaces; stucco can conceal the backing behind the finish. The charger needs secure support suited to its specified attachment method and the building.
The LRN2DIY video shows 3/16-inch holes in a solid plastic backplate and a masonry drill bit used through stucco toward the backing. It shows a lag bolt as an example, not a universal fastener specification.
An electrician should use the manufacturer's designated mounting provisions and suitable anchors. Unapproved drilling can compromise the enclosure. Ask the electrician to verify enclosure knockouts and approved closures for unused openings.
The video also shows an exterior-to-interior wall passage for an indoor installation. Any pass-through needs suitable routing and treatment of the building penetration.
Ask for a level installation with access to the unit's service points. Leave the manufacturer's required clearance underneath and enough space for cord wrapping.
Finally, consider impact when choosing a wall mount location. A charger beside a parking space shouldn't become the first thing a bumper, opening door, or wheelie bin hits. If the preferred position creates that conflict, moving it may be the cleaner solution.
What Happens Before the First Charging Session?
Installation isn't finished when the unit looks tidy on the wall.
The electrician needs to complete testing, set the permitted charging current and commission the equipment according to its instructions. For Tesla Gen 3 equipment, the configured breaker size determines the allowed output.
LRN2DIY's video includes activation through the Tesla app. App setup is part of some charging systems, but the process varies by model. Don't assume every charger requires the same account, connection or activation sequence.
Include commissioning in the installation scope so you're left with a working charging arrangement.
At handover, you should understand the normal status lights, how to start and stop charging, and where to find fault guidance.
If the equipment overheats, repeatedly trips, shows damage or develops persistent faults, stop using it and contact the electrician or manufacturer. Repeated resetting isn't a repair.
Key Takeaways for the Installation Quote
A useful quote describes the arrangement you agreed on, rather than leaving the final location to guesswork.
- Include the exact charger model, proposed wall position and parking orientation, with a cable route that reaches comfortably.
- Specify the intended charging current, circuit route, outdoor equipment arrangement, attachment position and cable storage.
- Confirm the location leaves practical access for another vehicle or future charging equipment.
- Include electrical assessment, installation, testing and model-specific commissioning in the scope.
Photos of the parking space and agreed wall location help keep everyone aligned. Keep electrical specifications in the electrician's scope, while making your everyday charging needs clear.
Outdoor Charger Placement FAQ
Does a 150-Amp Main Service Support a 60-Amp Charger Circuit?
The service rating alone doesn't answer that. Existing household loads and the proposed charging load determine whether that arrangement fits.
A 150-amp main disconnect, like the one identified in the LRN2DIY video, isn't evidence that another home has room for a 60-amp EV circuit. A qualified electrician needs to assess the installation as a whole.
Should I Center the Charger Between Two Parking Spaces?
Centering can work, but charging-port positions matter more than visual symmetry. Both vehicles need comfortable cable reach in their intended parking orientation.
Account for the cable's route around each vehicle and where it rests afterward. A position slightly off-center may be more useful than the midpoint if it avoids walking paths and awkward cable tension.
Sources
The Department of Energy's Alternative Fuels Data Center provides the outdoor-equipment guidance cited above.
Tesla's U.S. Gen 3 Wall Connector installation documentation supplies the product-specific cable length, installation-height measurements and output configuration.
LRN2DIY's "The Easiest Way to Install an EV Charger" supplies the installation example. Its component choices aren't universal specifications.
Choose a Location You'll Be Happy to Use
Good outdoor EV charger placement starts with the parked car and ends with a professionally installed, properly configured system.
Prioritize comfortable cable reach and a clear walking route. Let the electrician resolve the circuit and mounting details around that practical starting point.
The aim is a charging routine that fits your driveway, your vehicle and the people using both.
Safety note: This article is general information, not professional electrical advice. Working with 240V circuits can cause serious injury or fire. Hire a licensed electrician and follow local codes and permit requirements.
Sources & further reading

Written by
LarryLeoLarryLeo started EV Charging while researching his own next car purchase. He digs into the pros, cons and real cost savings of going electric — using government, standards-body and manufacturer sources — and shares what he finds so other buyers can decide with confidence.
Why trust EV Charging Guide
Our guides are researched from government, standards-body and manufacturer sources, reviewed for accuracy, and updated when rules or products change. Brands cannot pay for placement. Read our editorial policy.